Bunny CDN
Difficulty - Easy, Cost - $1/month
Words you might see in this guide
| Term | Meaning |
|---|---|
| Storage zone | The place in Bunny where your files live. You upload the contents of your .faircamp_build folder here. |
| Pull zone | The setting that turns your storage into a public link. Once you create a pull zone, your archive is available at a URL like yoursite.b-cdn.net. |
| CDN | Content delivery network, servers that store copies of your site and serve them from locations close to visitors so the site loads faster. |
| Purge | Clearing the CDN’s cached copies so the next visitor gets your latest files. You’ll use this when you update your archive. |
| Force SSL | Makes your archive load only over HTTPS (the locked padlock). You’ll turn this on so your link is secure. |
1. Create a Bunny CDN Account
Make an account on bunny CDN

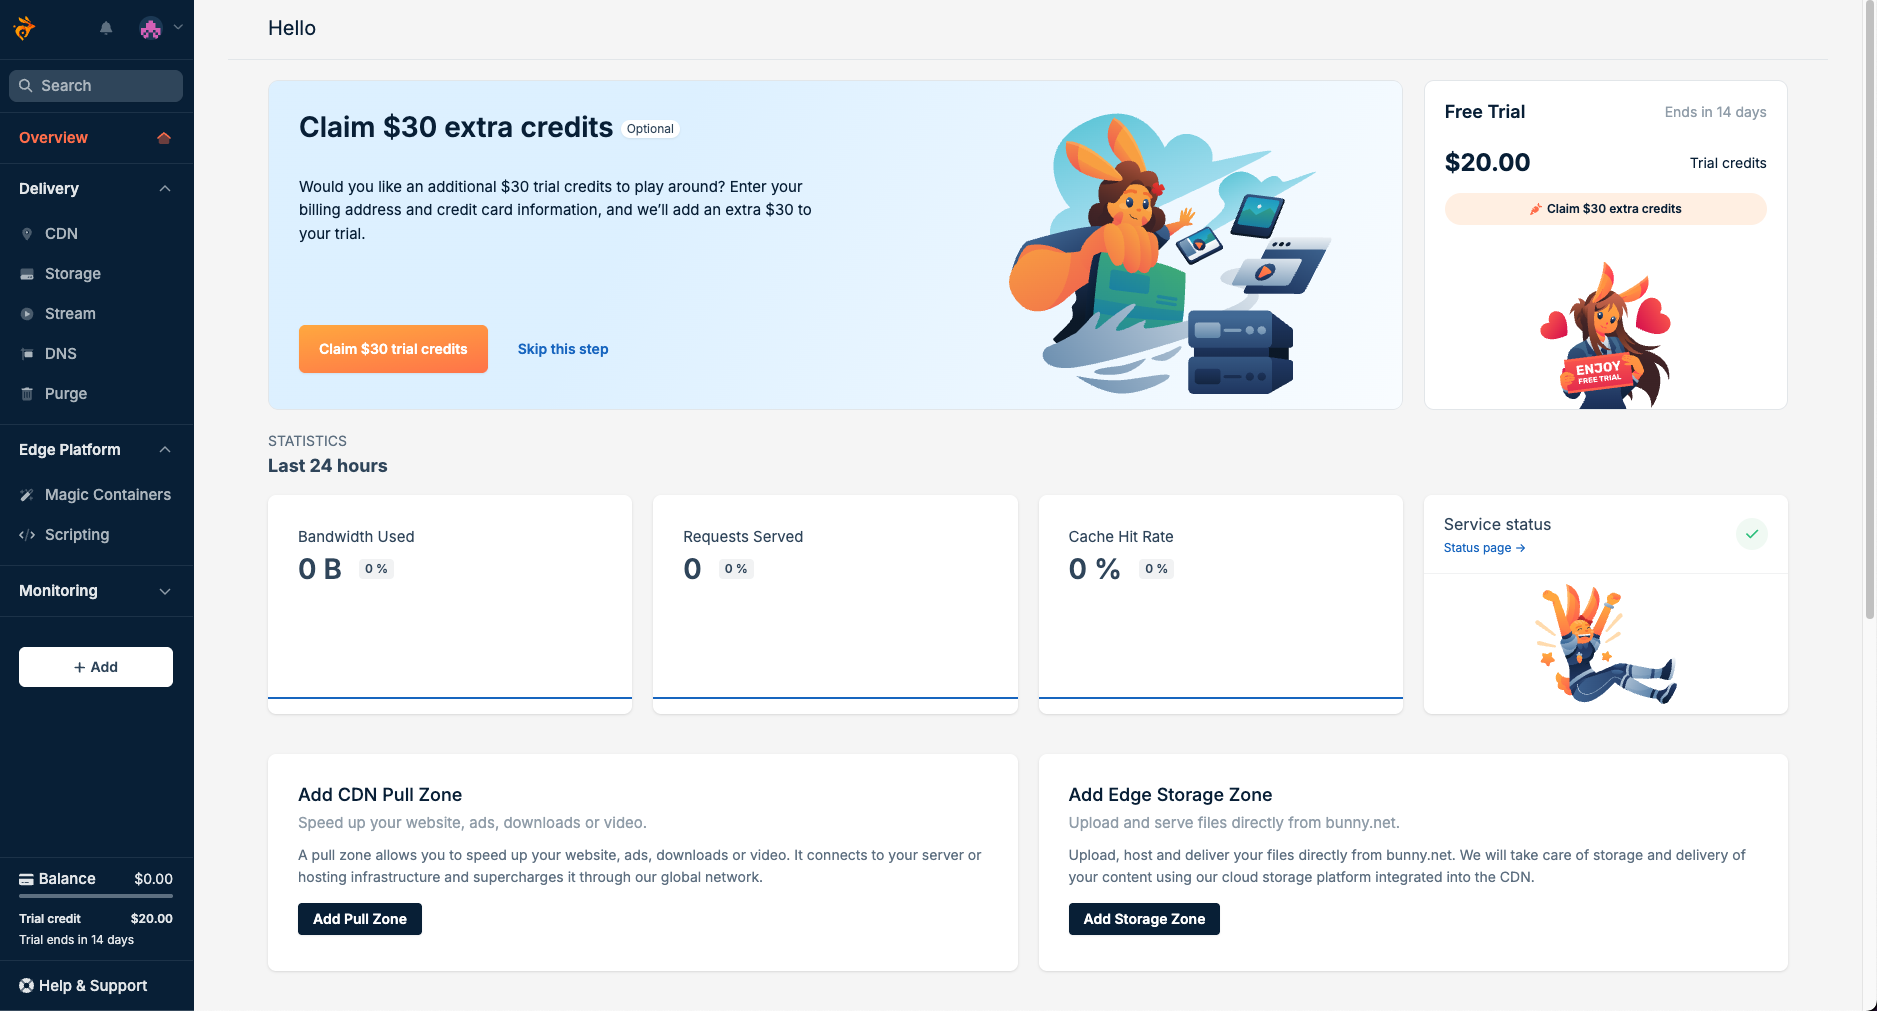
2. Welcome to Bunny CDN
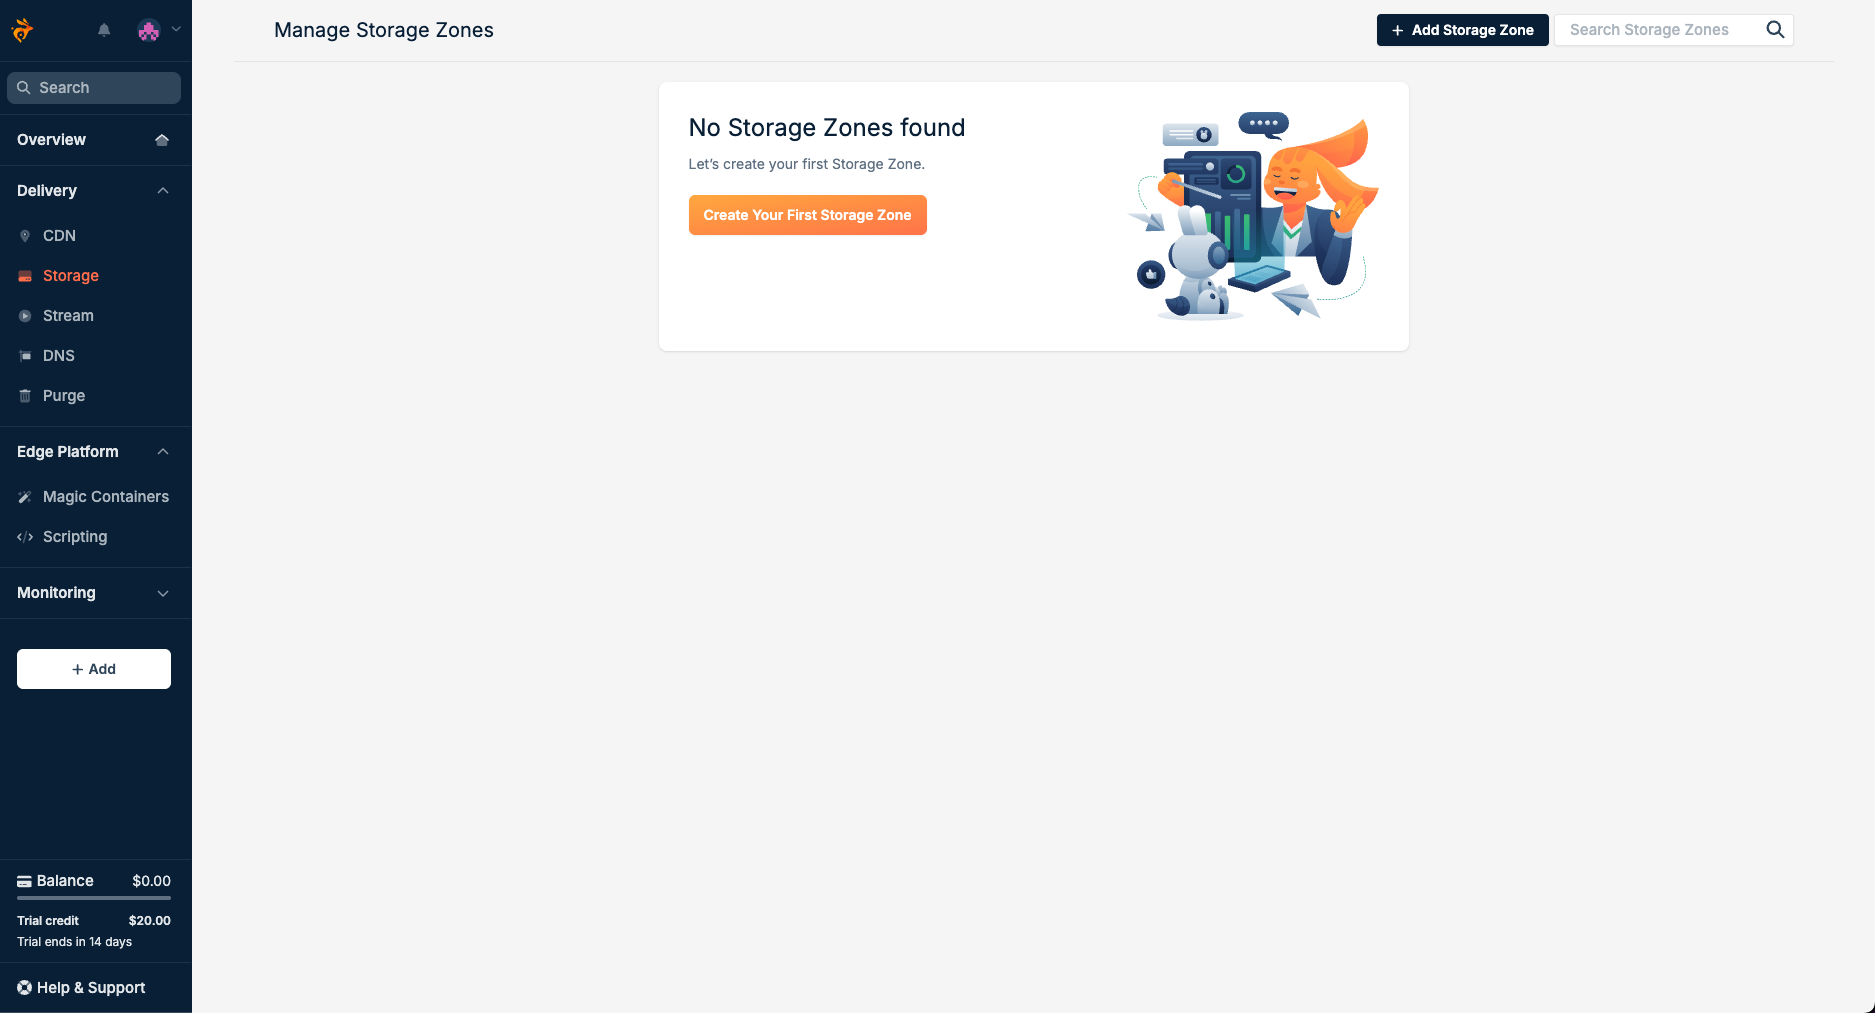
3. Set up storage
Click on Storage and Add Storage Zone
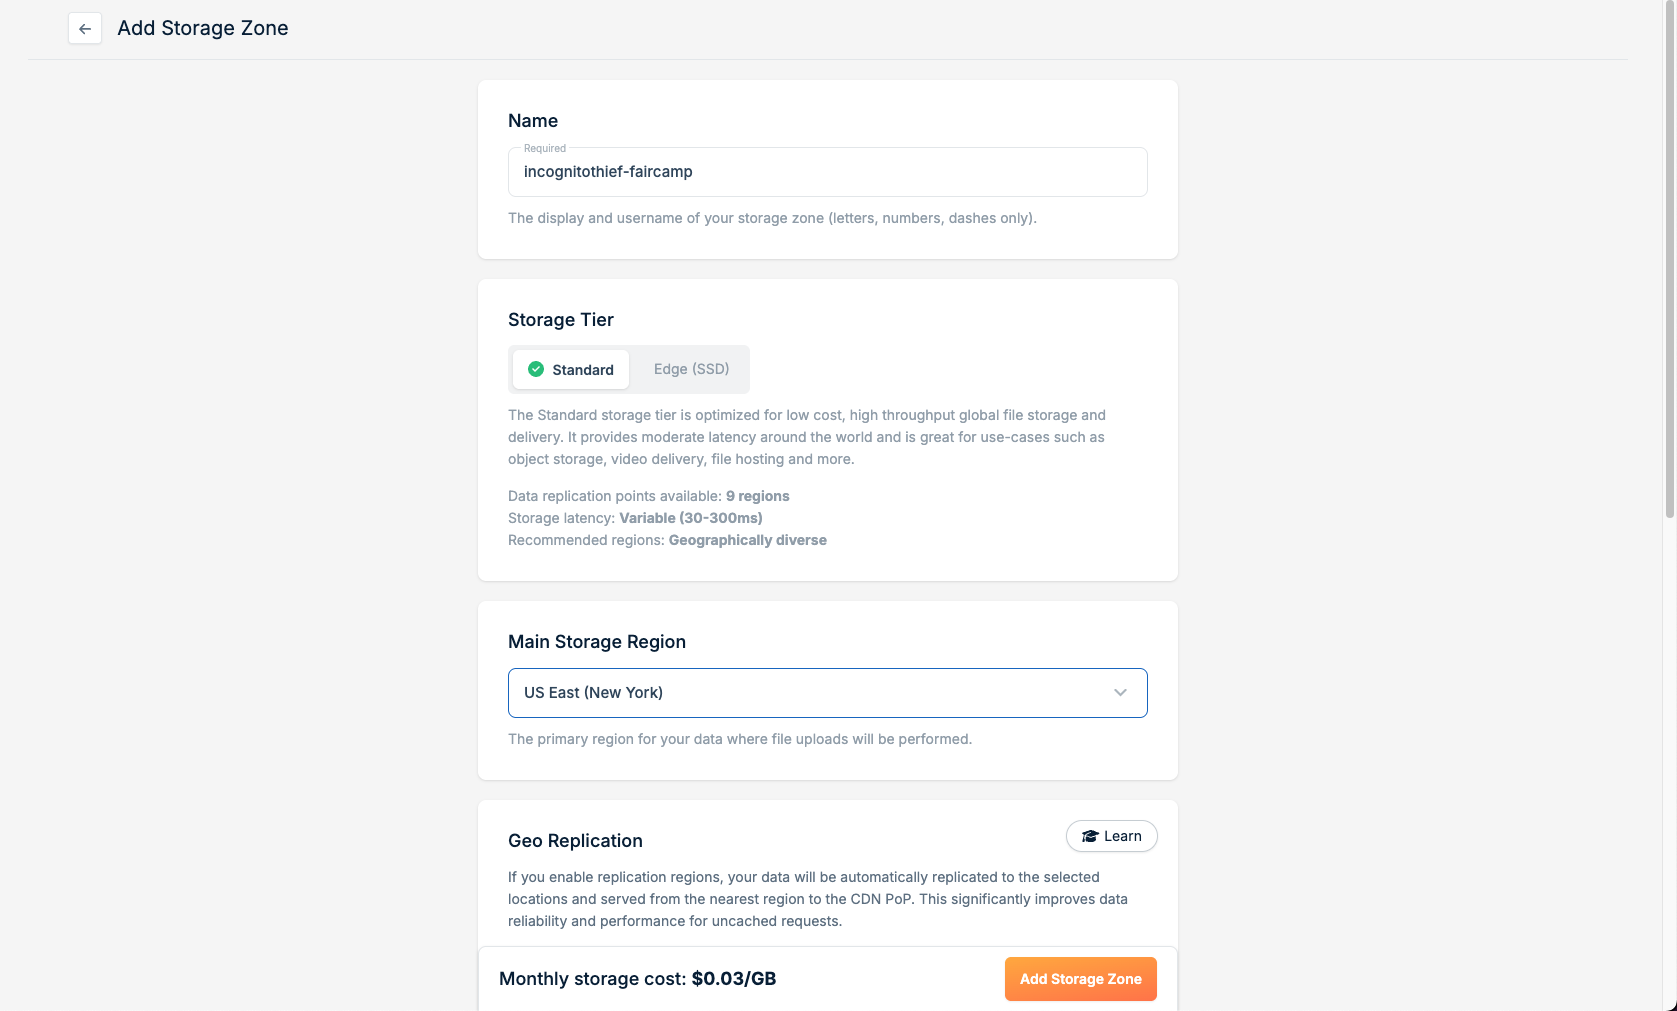
Title your storage zone something memorable, and go through the creation dialog
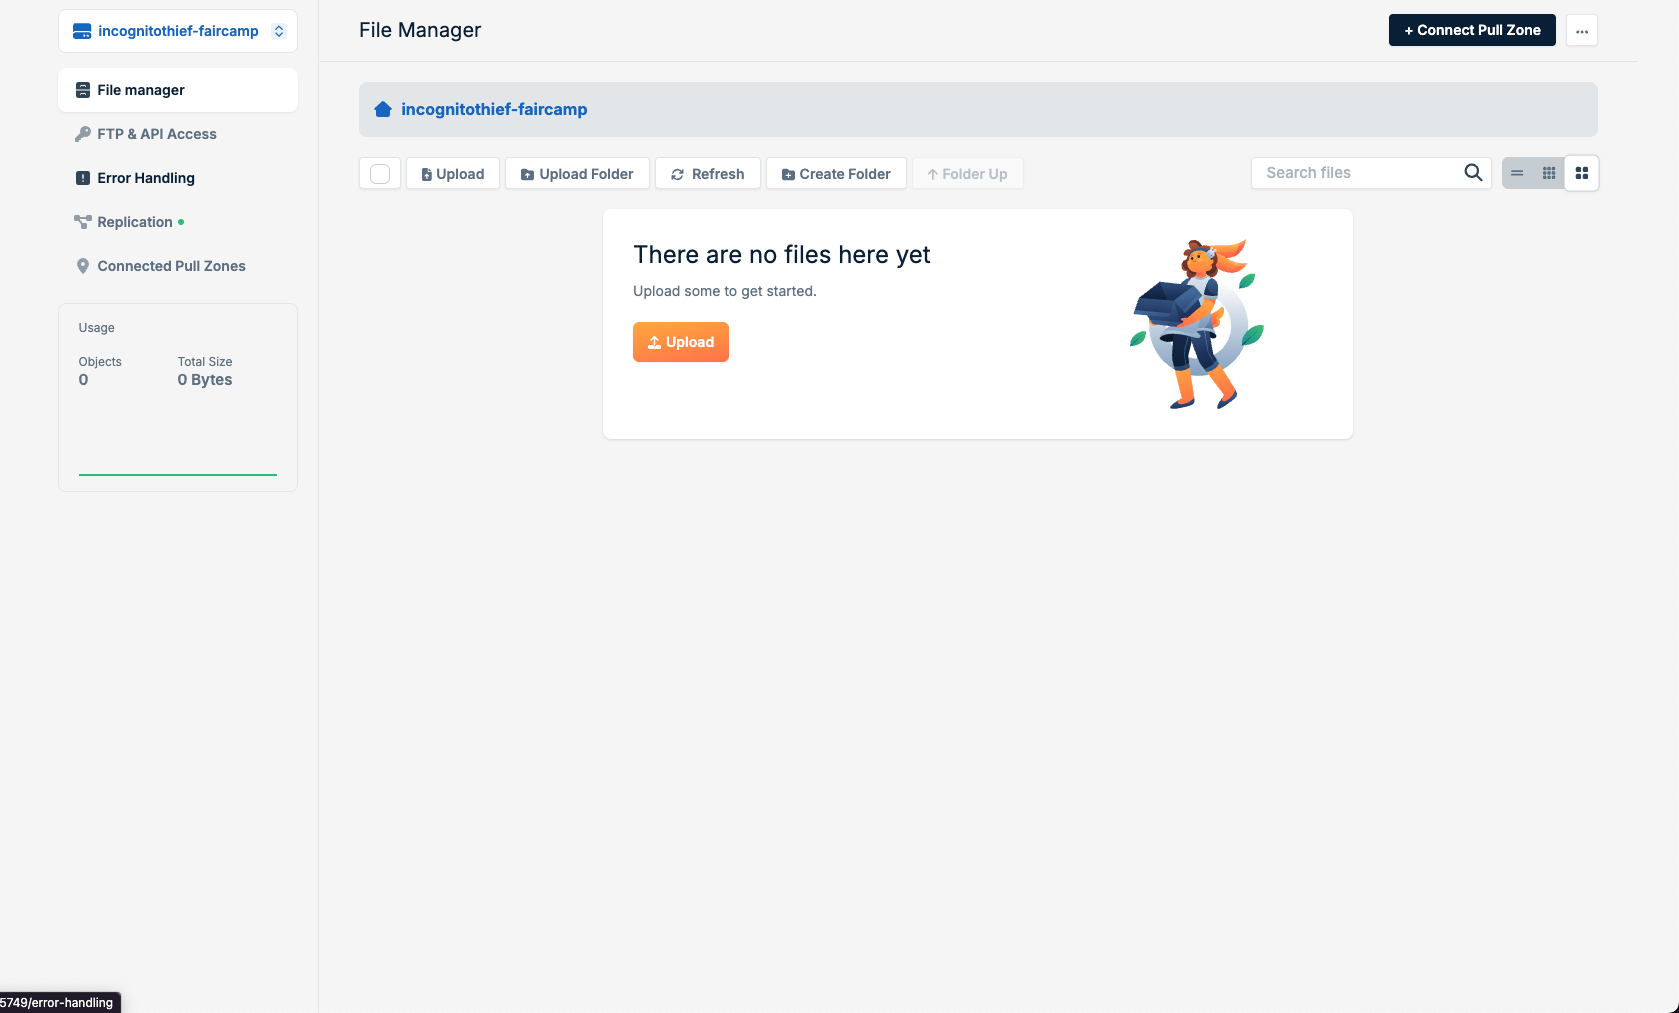
After creating the storage zone, you will be presented with this file explorer
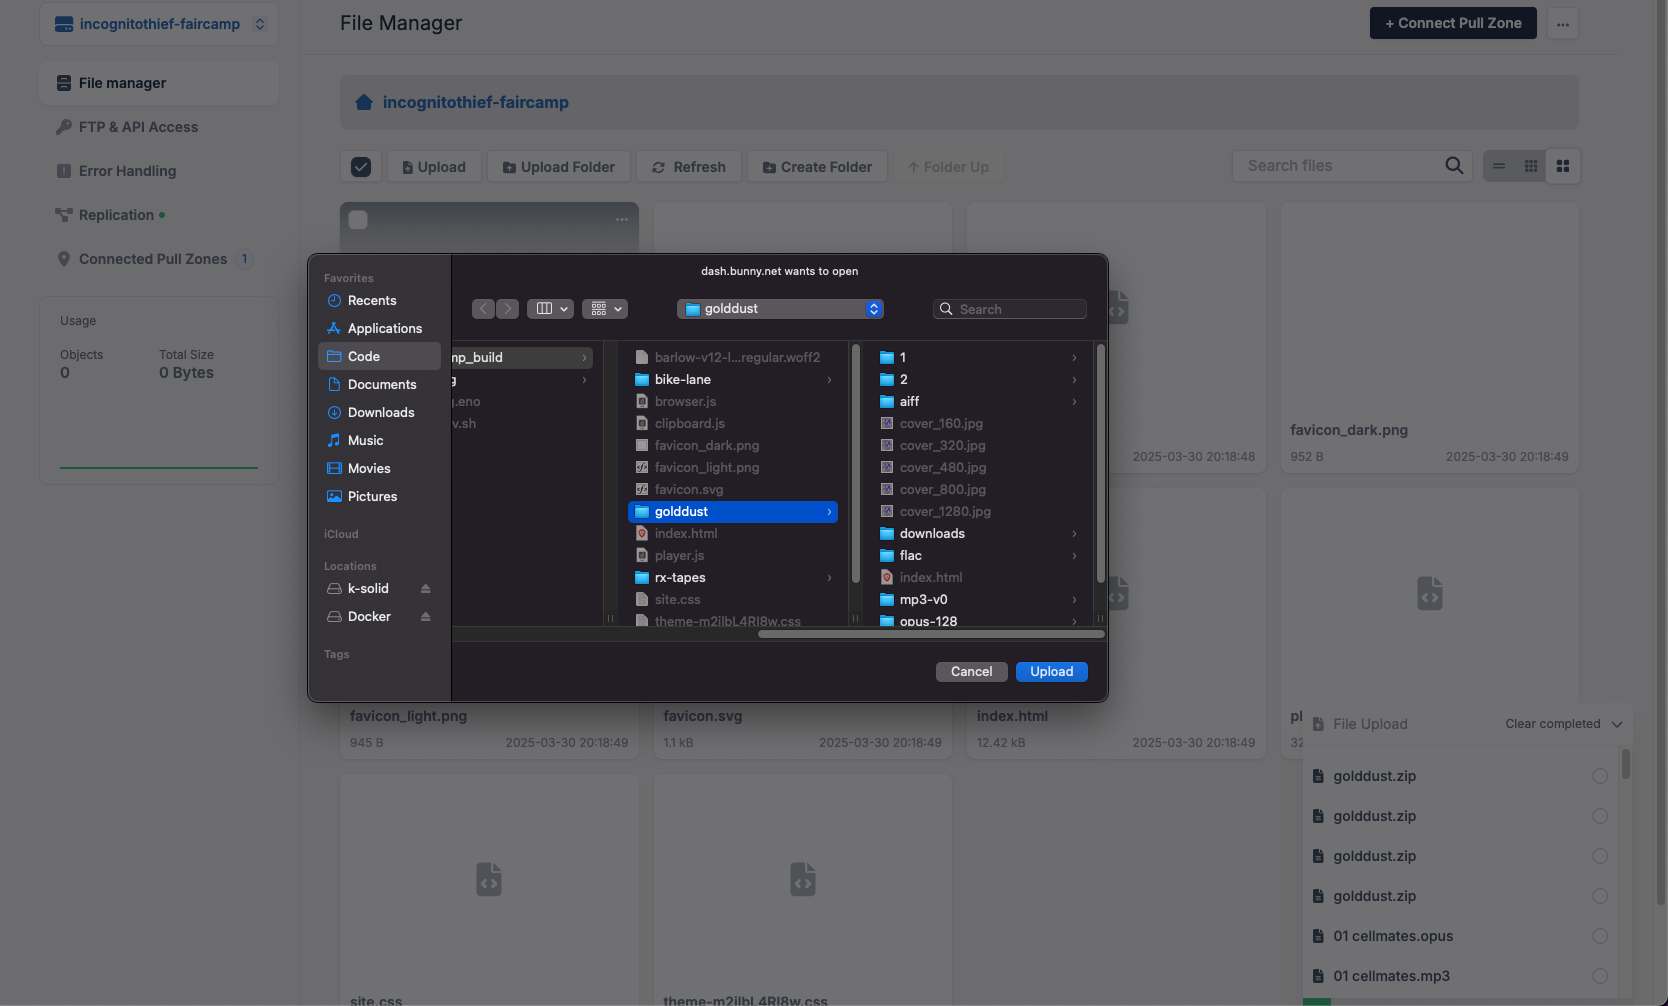
4. Upload your faircamp archive
Using the upload file and upload folder buttons, upload the content of your faircamp archive build folder.
If you want to do this faster, you can use the bunnyCDN CLI. However, this tool is unofficial and the tutorial will not cover using it
5. Add a pull zone
After uploading your archive content, you will need to add a pull zone ( CDN ). This will enable your content to be accessible via a link.
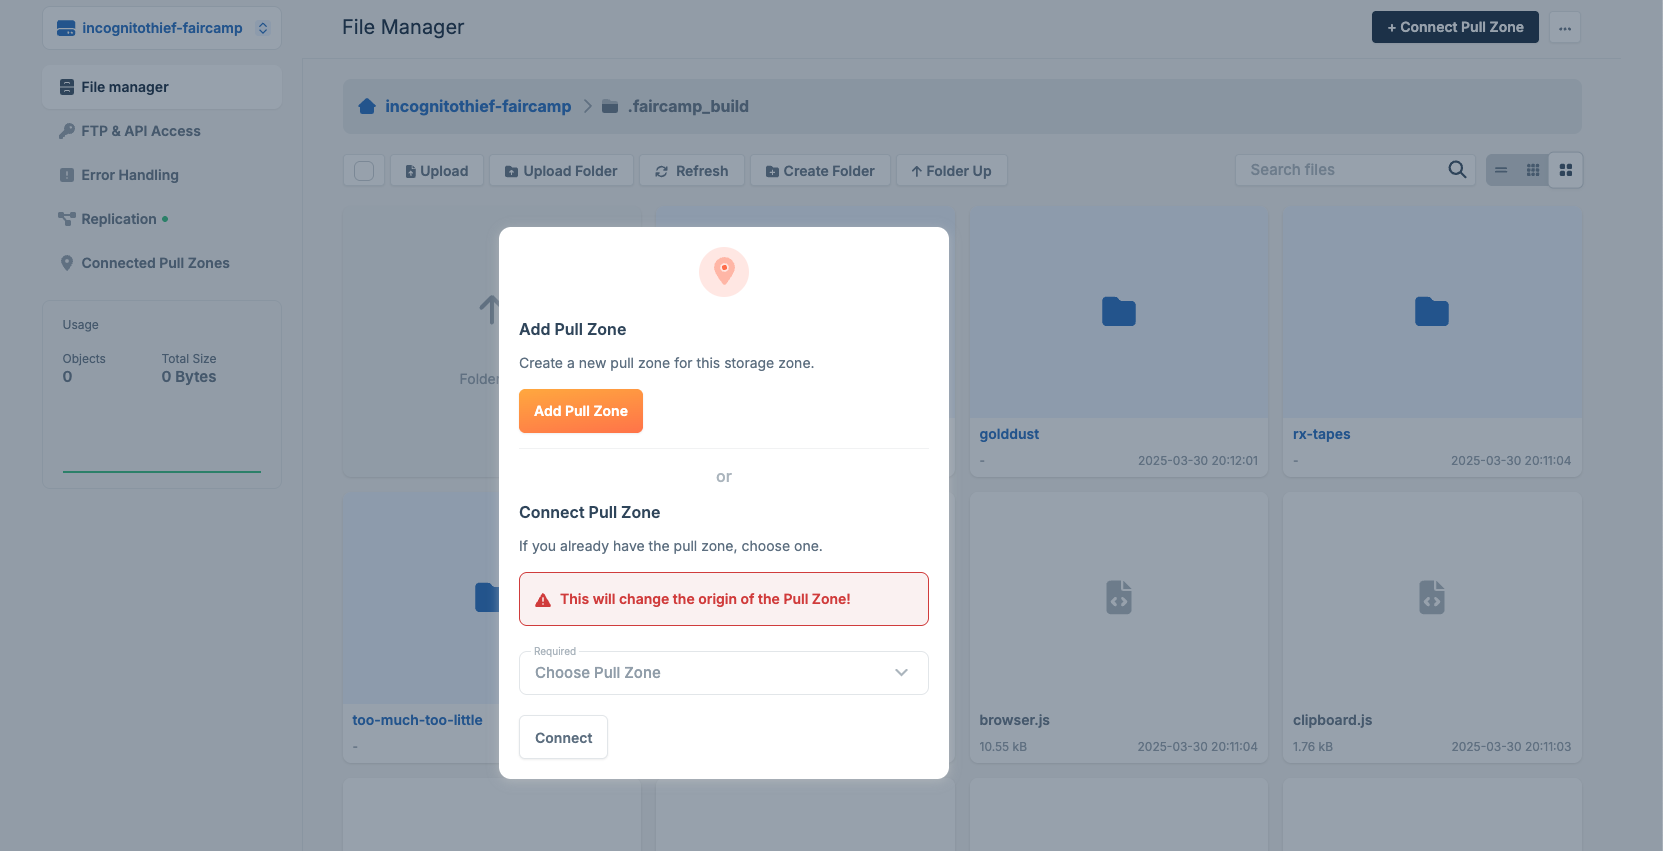
When you create your pull zone, you will give it a name. This name will show up in the link that is later created for your archive.
example: https://incognitothief-faircamp.b-cdn.net
Name your pull zone something memorable and continue with the setup dialog
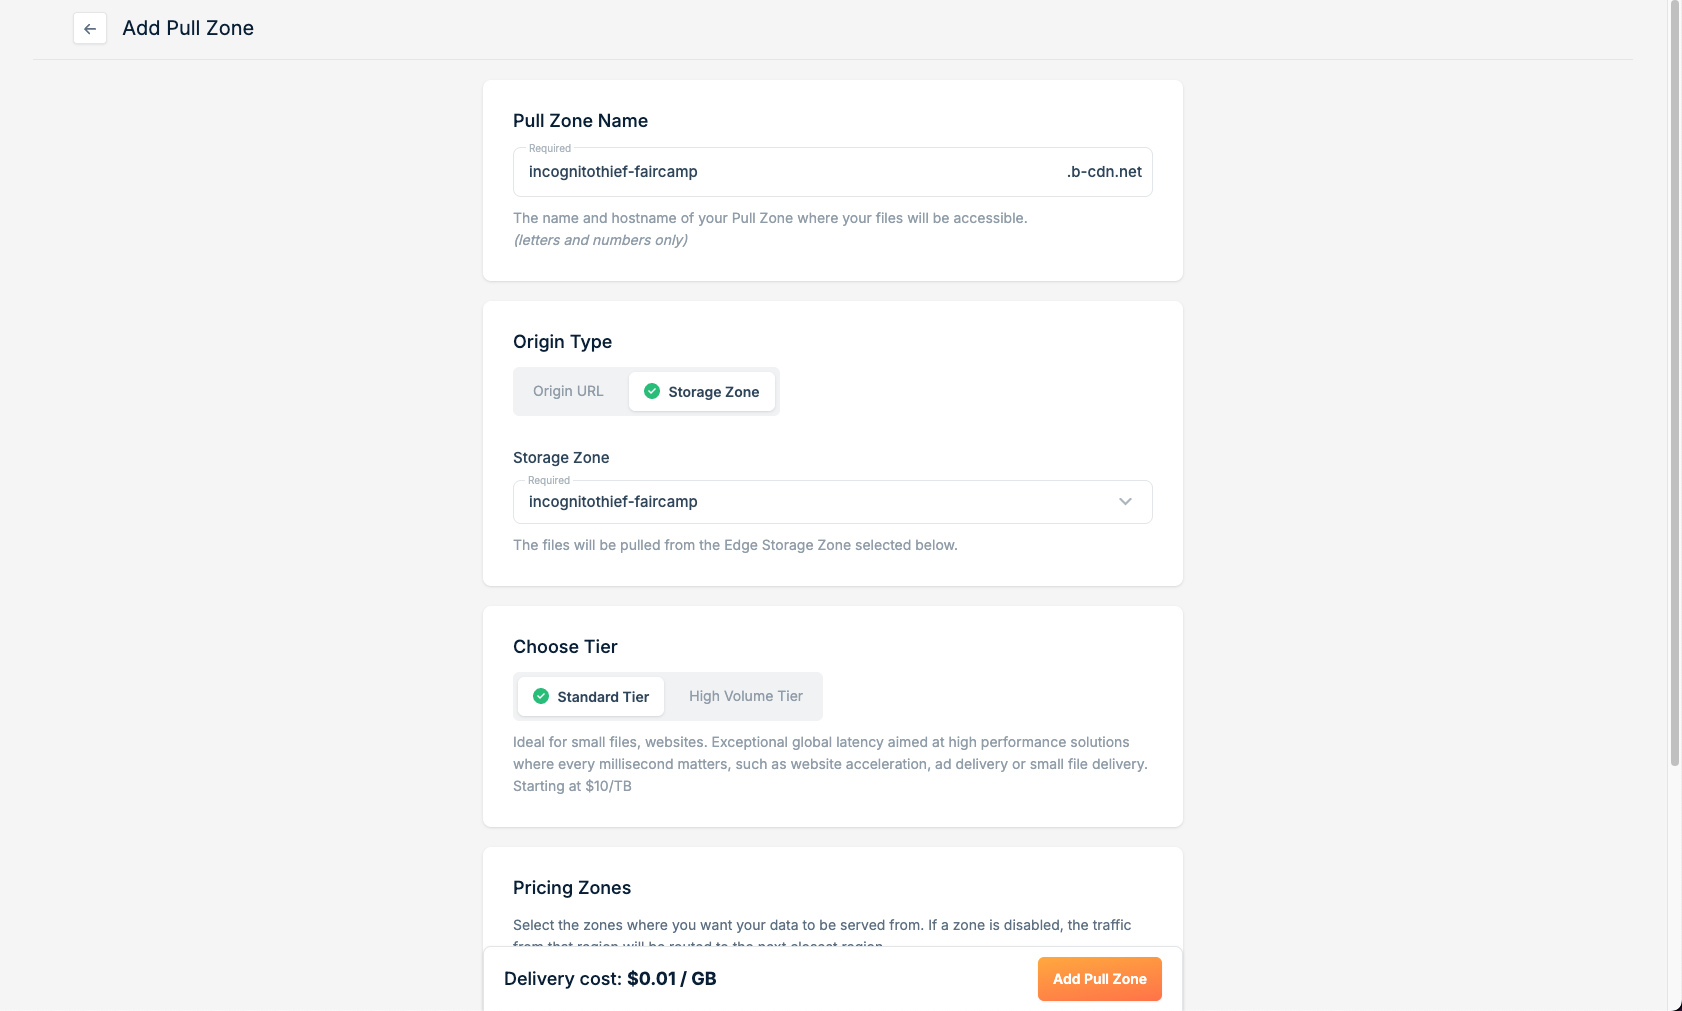
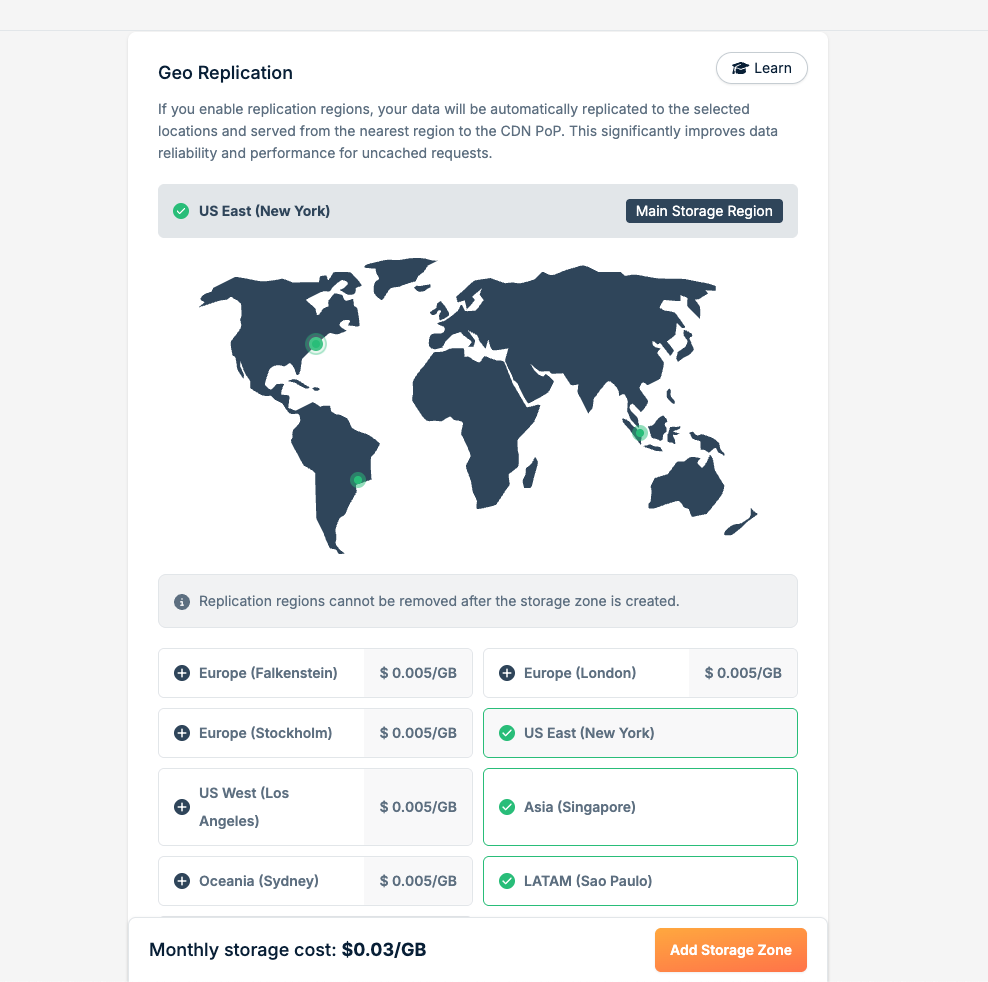
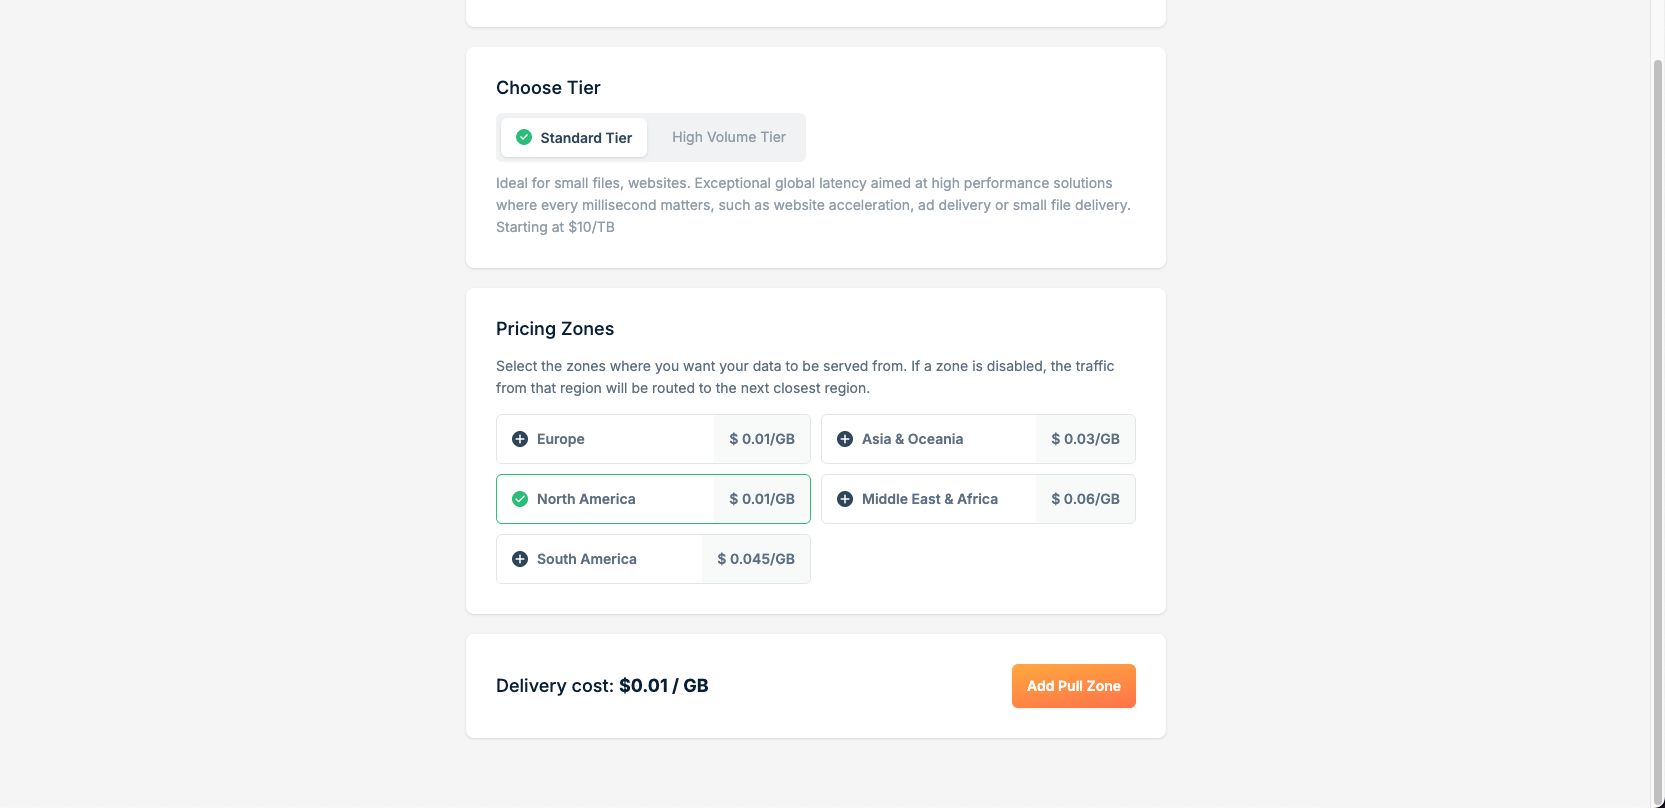
You can deselect some of the pricing zones to make your deployment cheaper (However, bunny CDN requires that you pay a minumum of $1 per month)
Once you have completed, you will see this screen. The Linked Hostnames section displays the link that your faircamp archive is accessible at
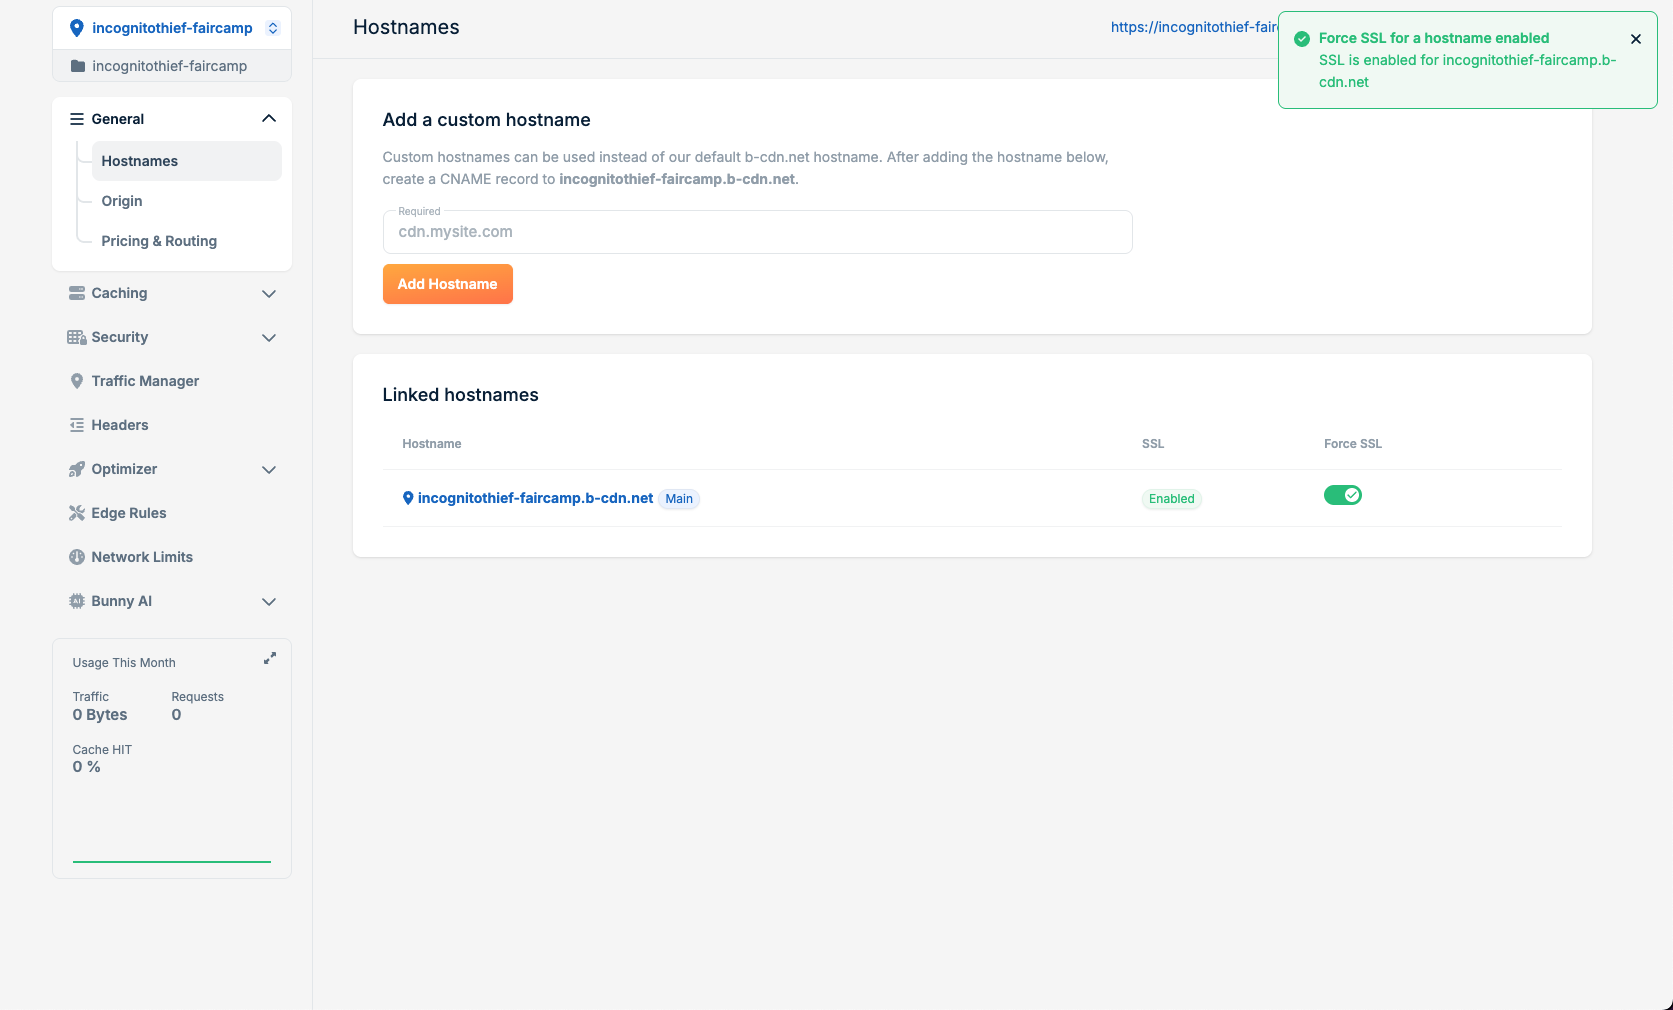
Be sure to enable Force SSL

Finished
Try typing the link into the search bar. You should be able to access your archive!
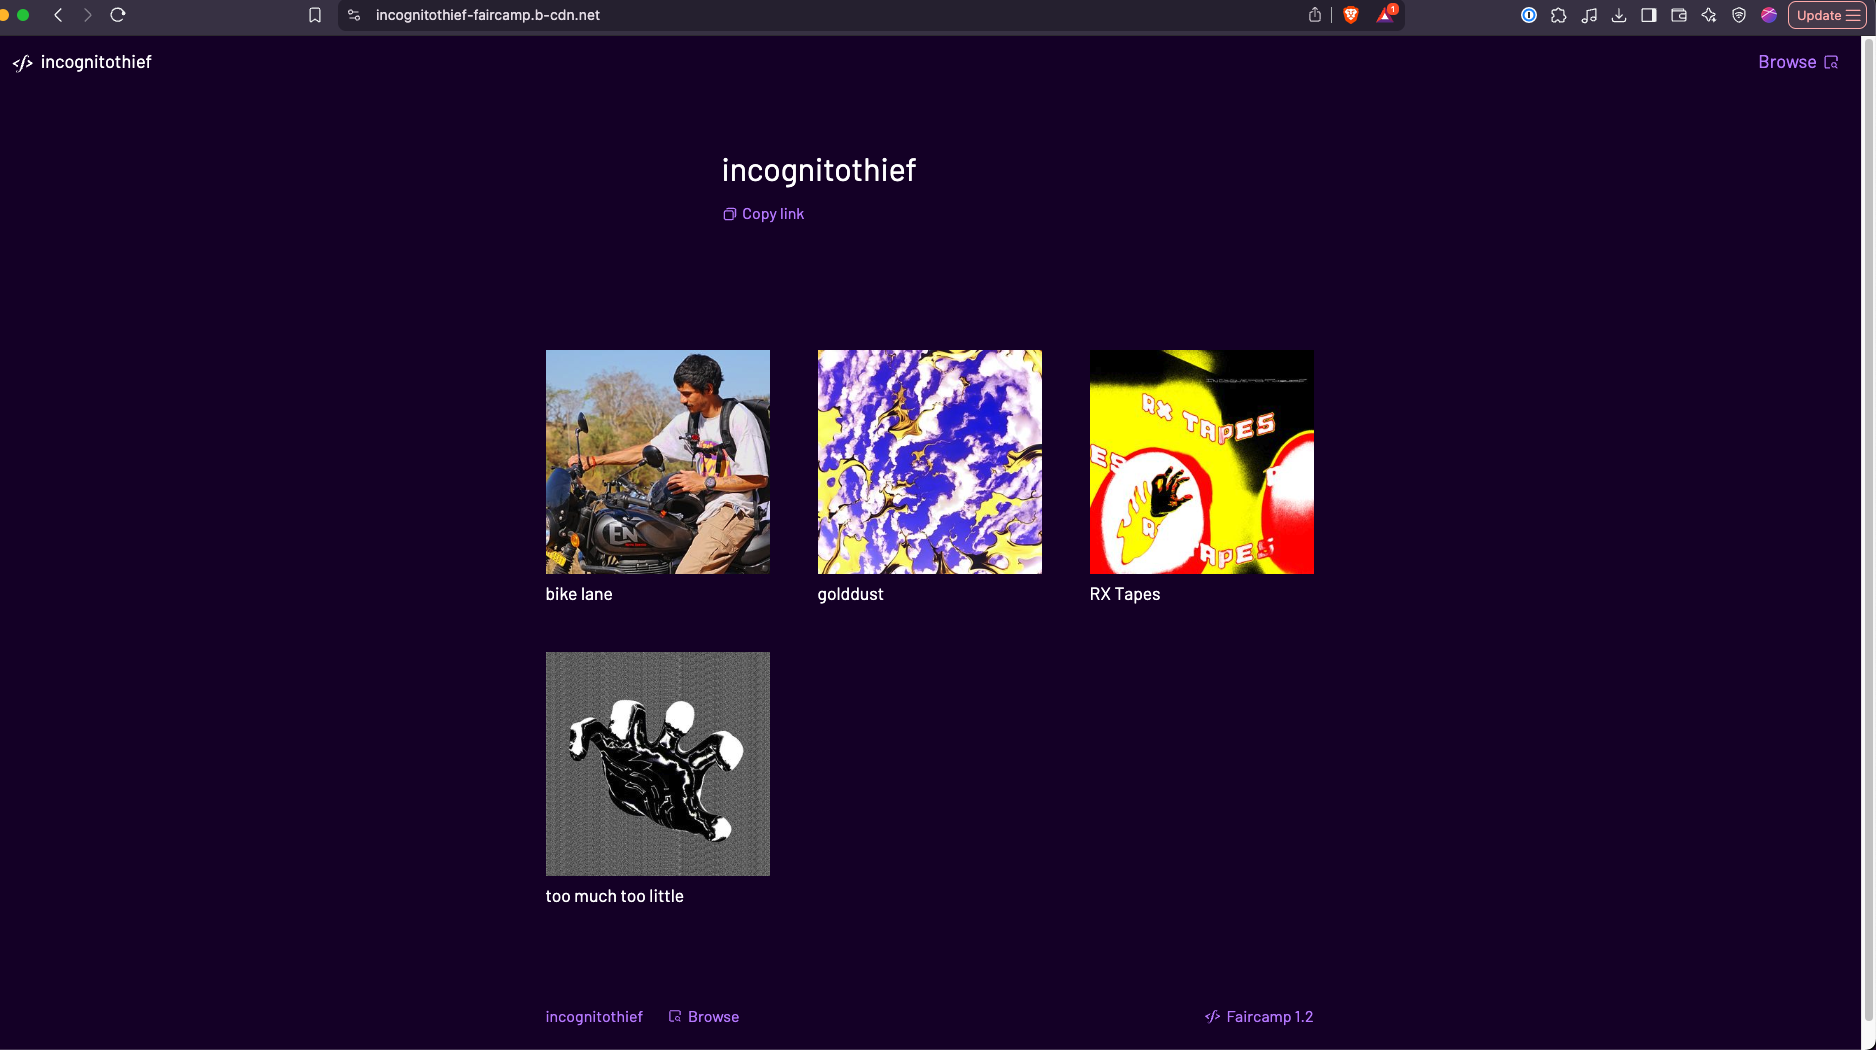
Your archive is now available at [PULL-ZONE-NAME].b-cdn.net ! Keep this link handy; You will submit it on the publish page
Tips and Tricks
Refreshing your archive after making changes
Whenever you want to deploy changes to your faircamp archive, follow these steps:
- Delete the contents of your BunnyCDN storage
- Upload the new contents of your
.faircamp_buildfolder ( Repeat step 4 ) to BunnyCDN - Purge your CDN
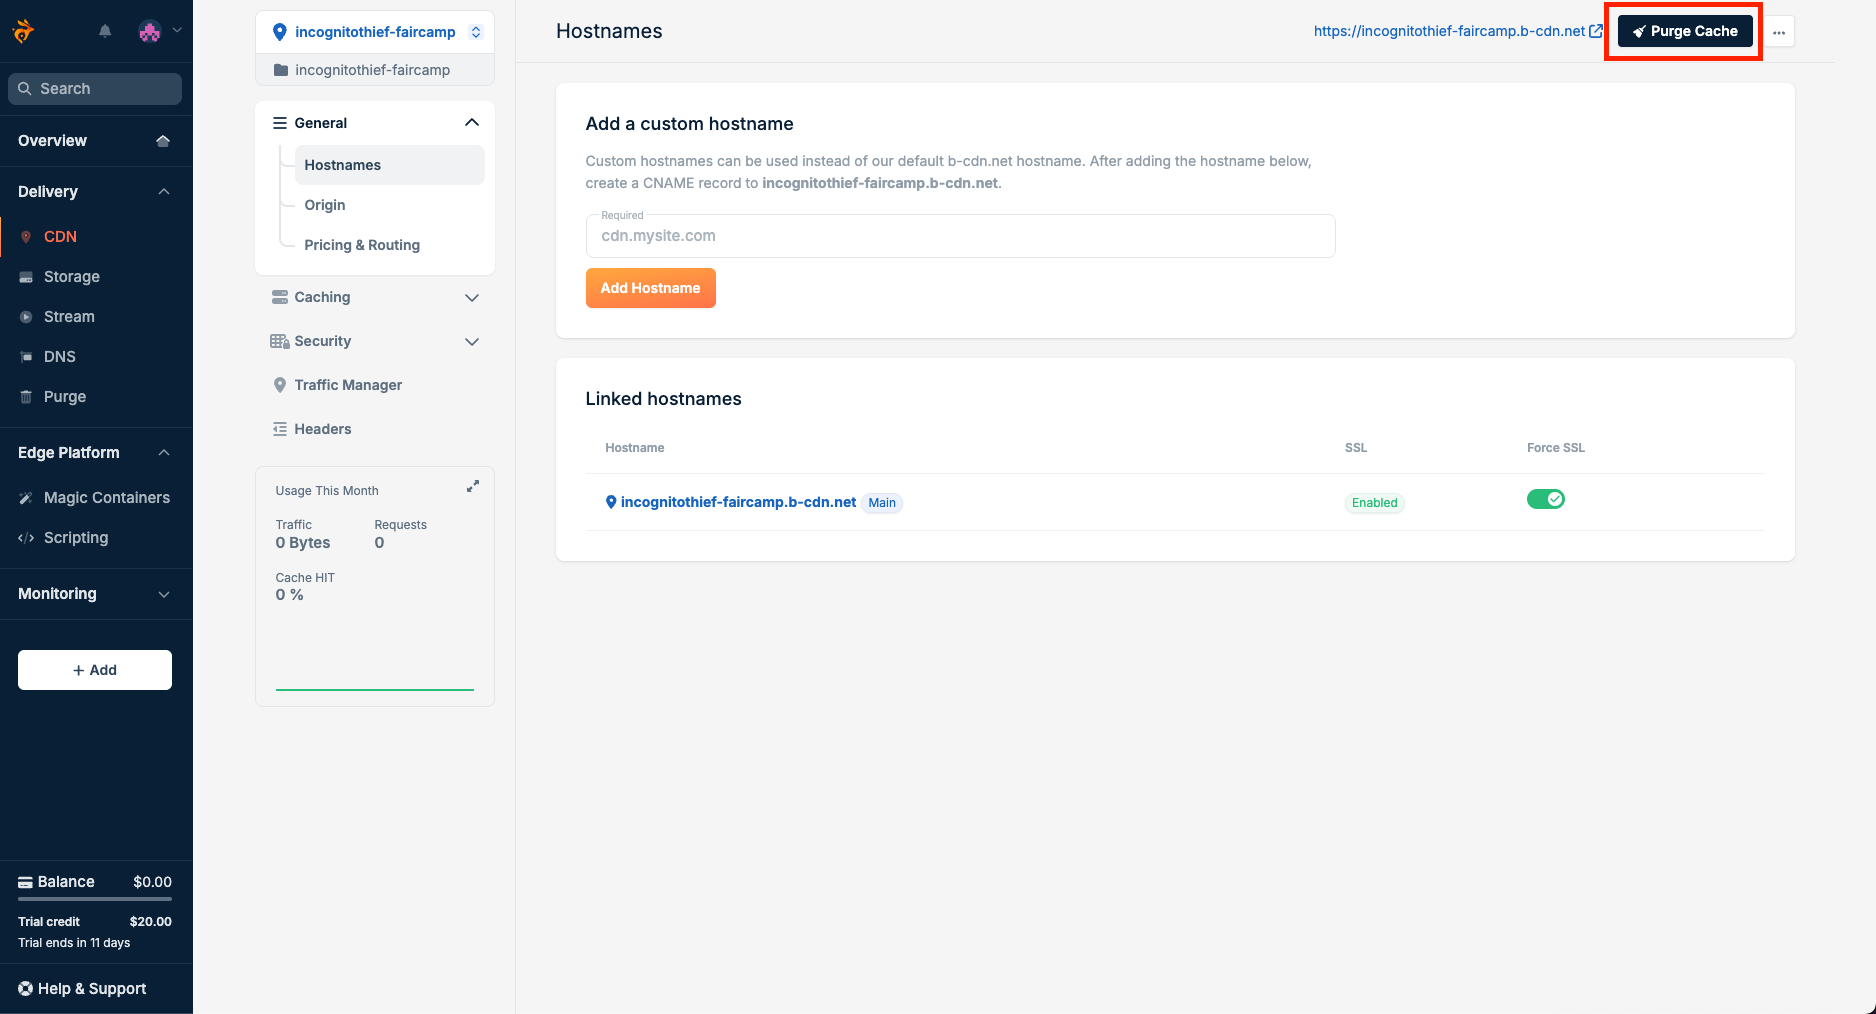
Press purge to purge the cache and load the latest archive contents
Why does this work?
A CDN is like a network of local warehouses for web content; instead of shipping everything from one central location, data is delivered from the closest “warehouse” to you, making websites load faster.
When you "Purge" your CDN, you get rid of all the old contents of your "warehouse" and stock it up with fresh contents