Backblaze + Cloudflare
Difficulty - Hard, Cost - $1 one-time-payment
Words you might see in this guide
| Term | Meaning |
|---|---|
| Bucket | A container for your files in Backblaze’s cloud storage, like a top-level folder. You upload the contents of your .faircamp_build folder here. |
| Application key | A secret key (ID + password) that lets the B2 CLI access your bucket. You create it in the Backblaze dashboard and use it once to log in from your computer. |
| B2 CLI | Backblaze’s command-line tool. You run it in a terminal to upload your archive so the folder structure stays correct. |
| Terminal | The window where you type text commands (e.g. on Mac: Terminal; on Windows: Command Prompt or PowerShell). |
| Sync | The B2 command that uploads your .faircamp_build folder and keeps the same structure; we use b2 sync so the site works correctly. |
| Route translator | A small program (here, a Cloudflare Worker) that turns browser requests into the right file in your bucket so your archive behaves like a normal website. |
| Cloudflare Worker | A bit of code that runs on Cloudflare’s edge; we paste in a script that acts as the route translator for your Backblaze bucket. |
Getting started
1. Make a backblaze account
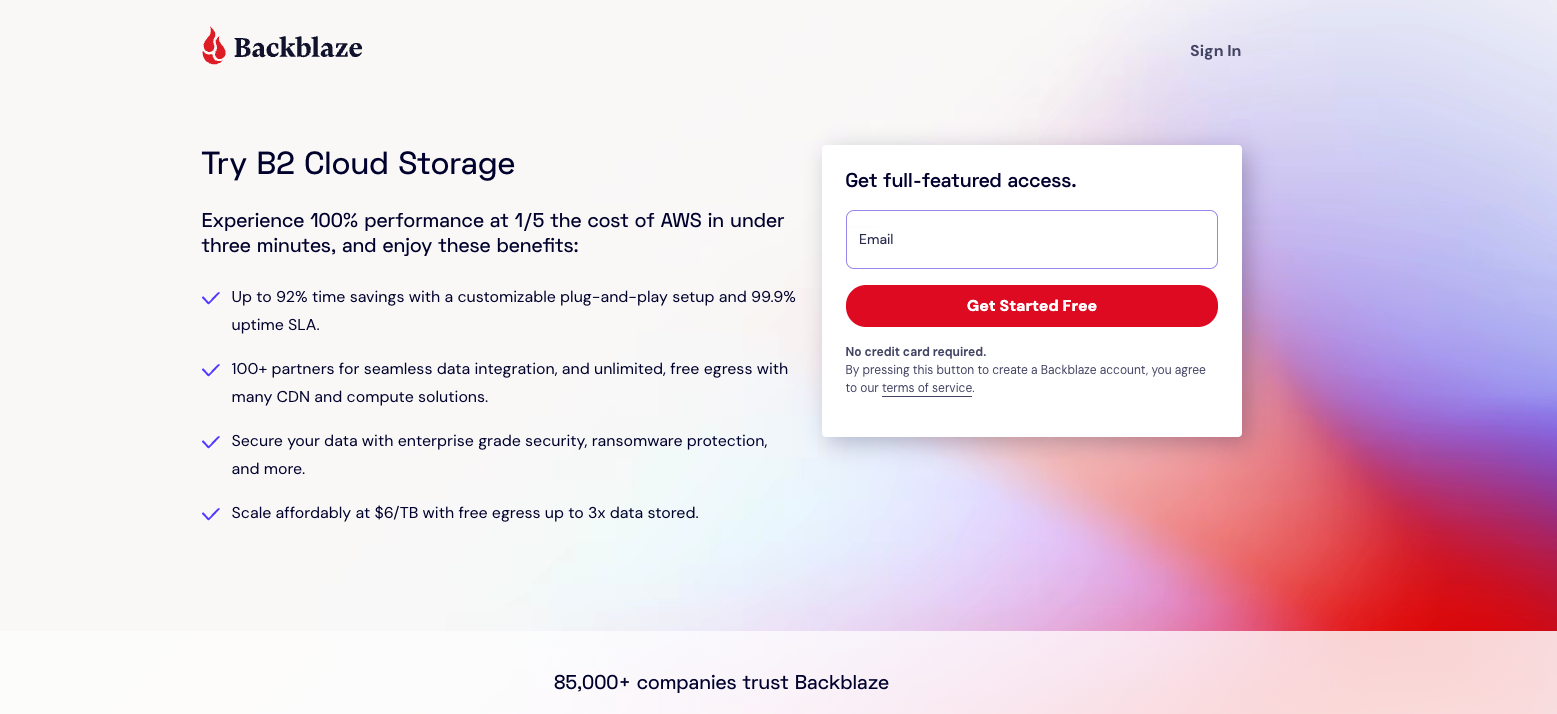
Make an account on backblaze
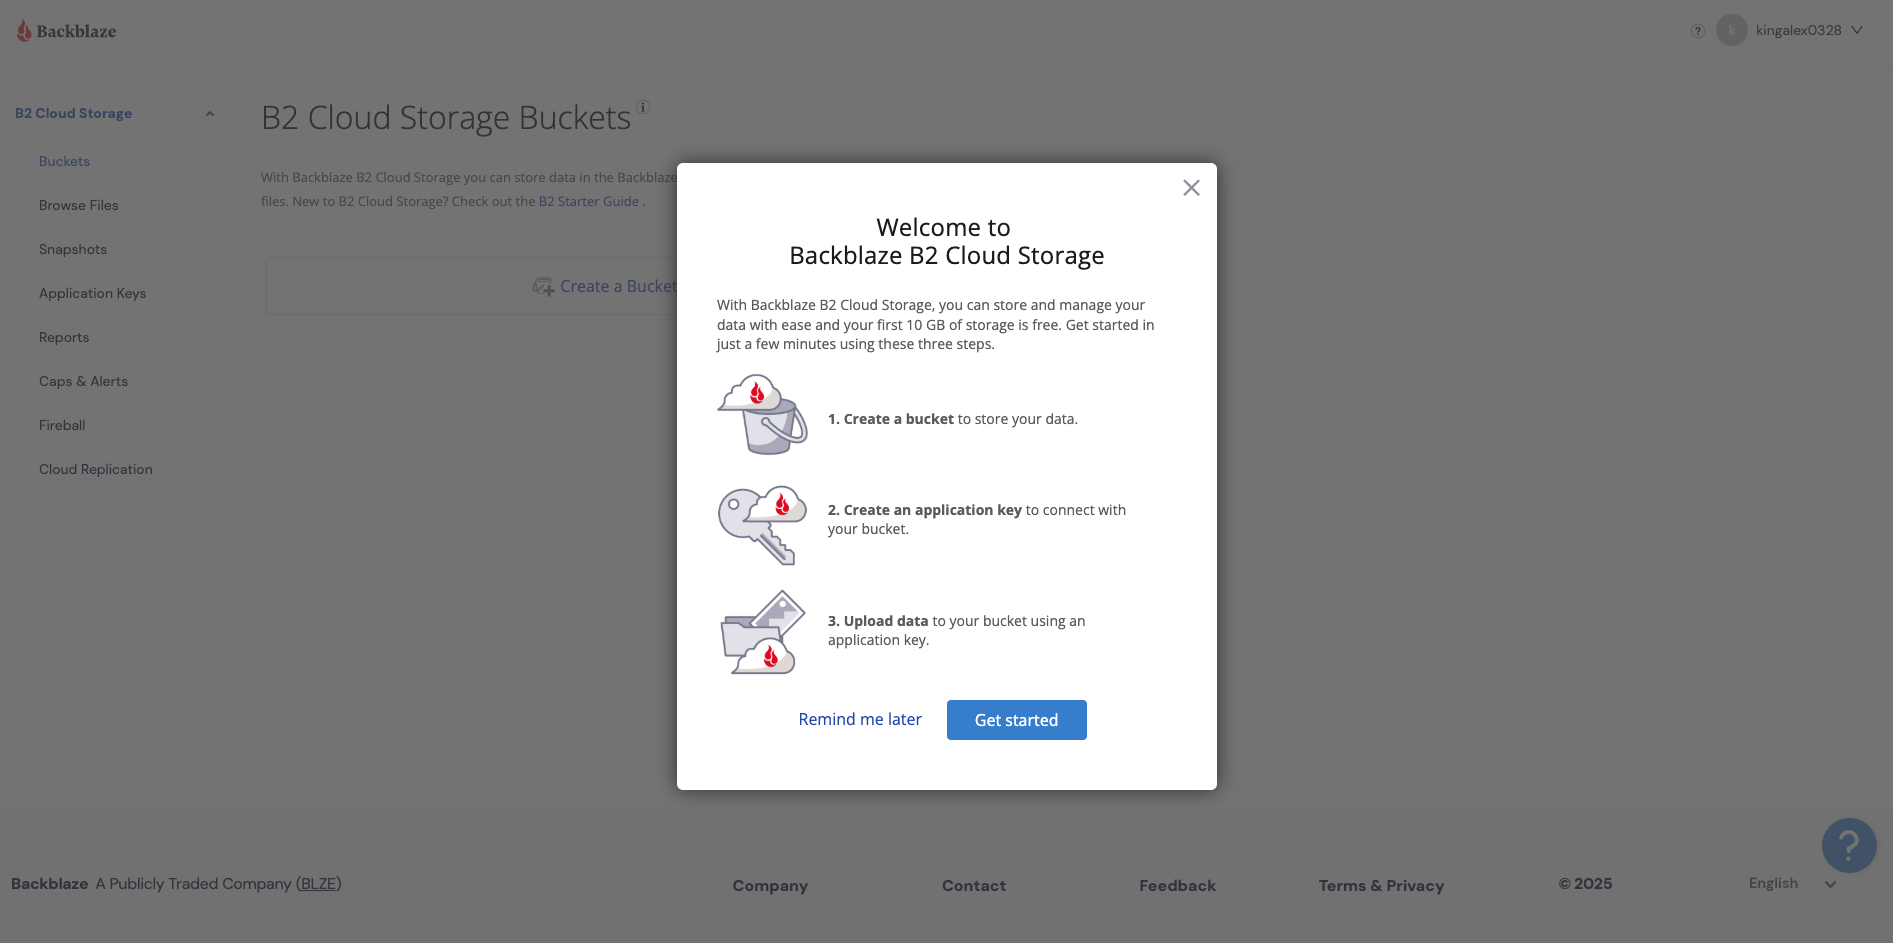
2. Welcome to backblaze
When you make your account, you will see this screen
Bucket Creation
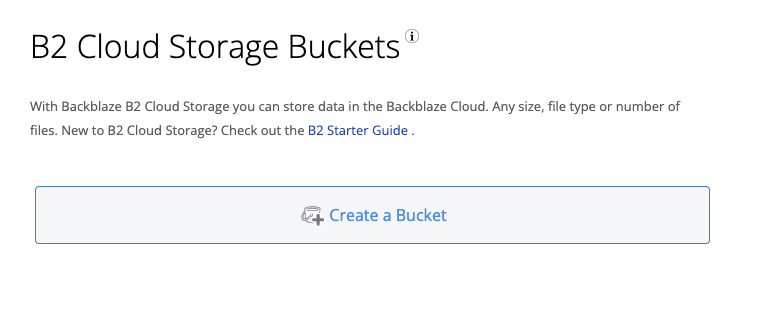
3. Make a bucket
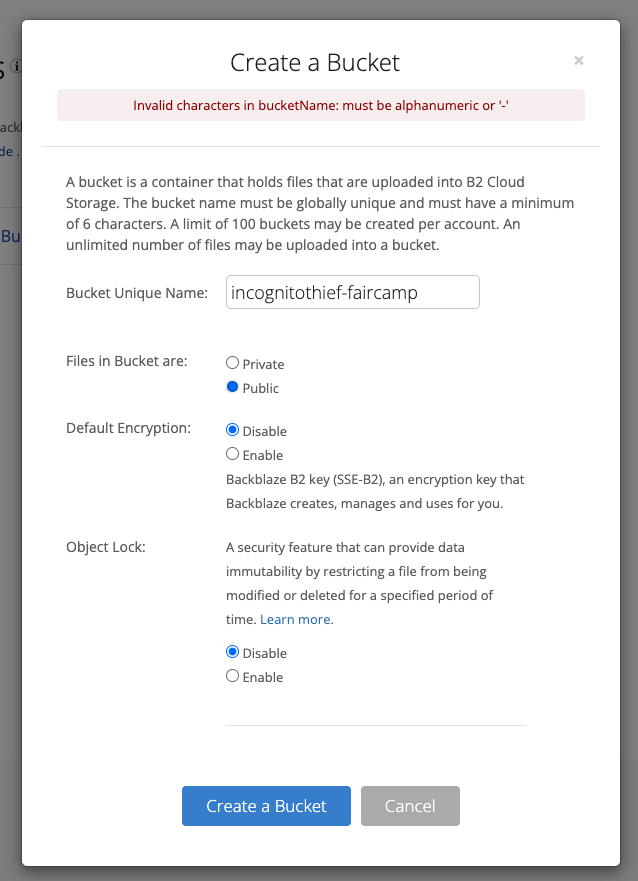
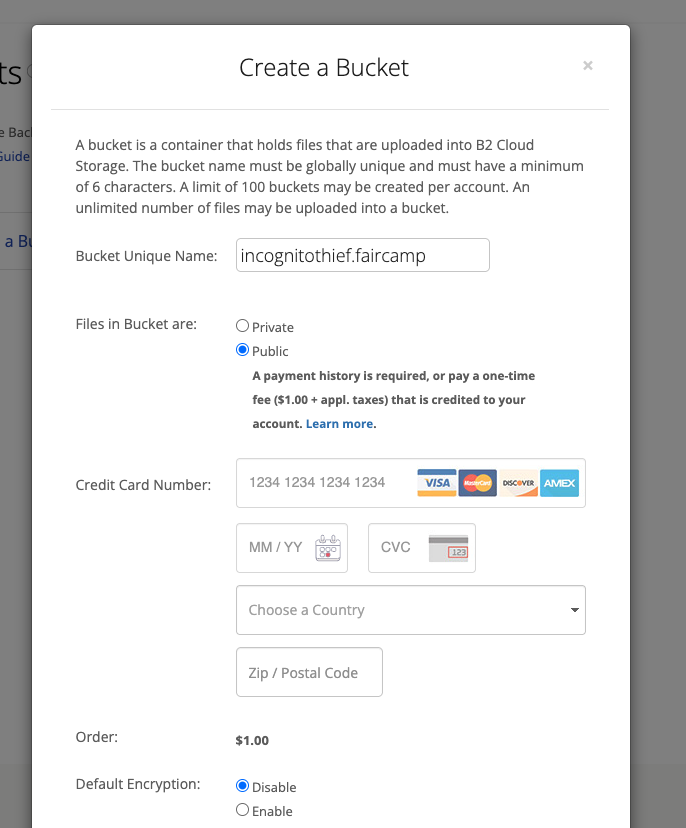
Create a new bucket
You will be presented with the following dialog. Ensure the following:
- name does not have any invalid characters
- Files in bucket are
public - Default encryption is
disabled - Object lock is
disabled
When you create a public bucket, you will be asked to pay $1 to verify your identity
4. Configure access for your bucket
Now that your bucket is created, you will see this screen

If you inspect the contents of the bucket, you will see it is empty
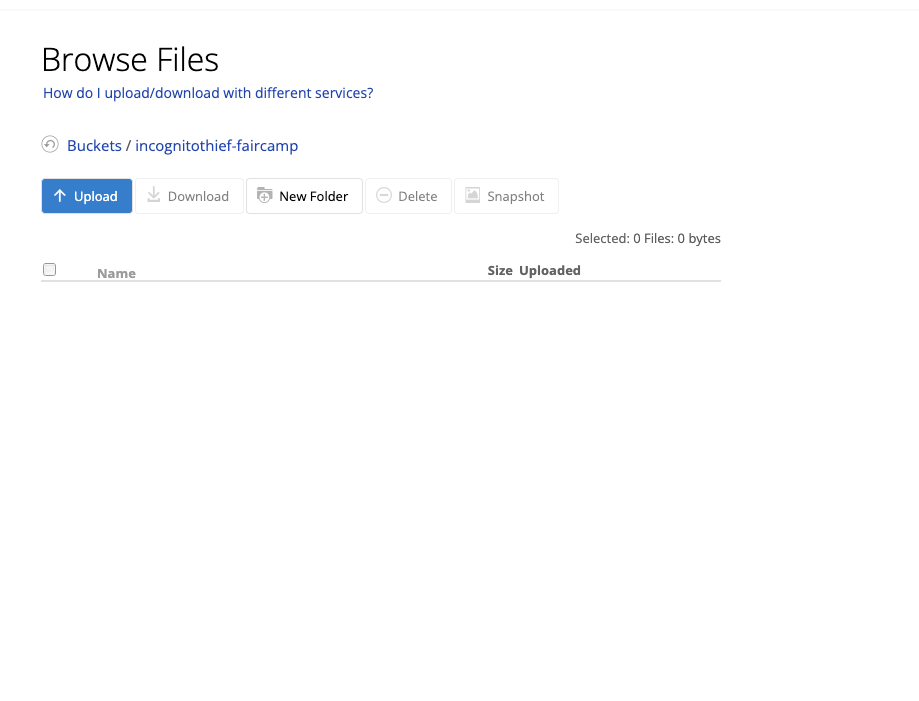
It may seem tempting at this point to drag and drop your files into the bucket, but DO NOT DO THIS. It will screw up the folder arrangement of your archive and the archive will not be able to be accessed.
We will have to use the b2 cli in order to upload your files while preserving the correct folder structure.
Uploading files
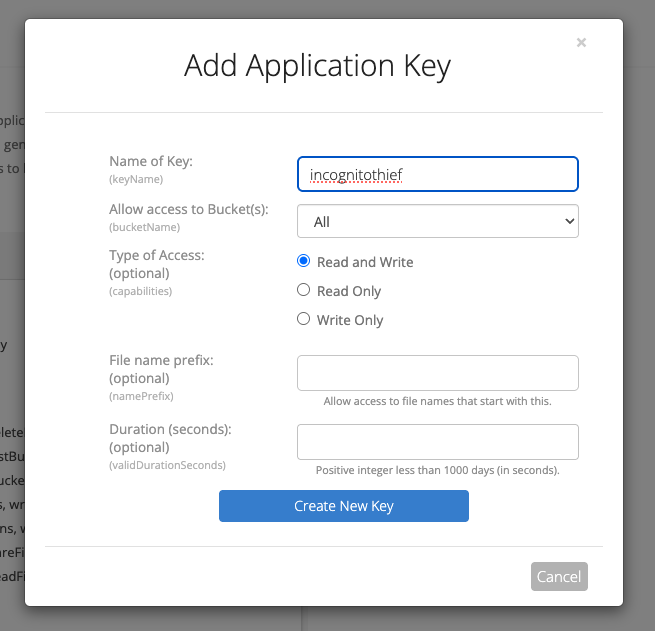
5. Create an application Key
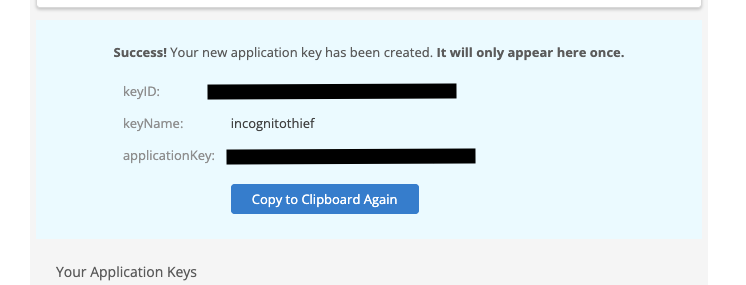
Make a new application key for your bucket. This will be used as your credentials for the b2 cli

Make note of the keyID and applicationKey. Keep these secret!
6. Install B2 CLI
Experiences will vary between mac/linux and windows users. Commands for both operating systems are included here
- For detailed instructions on installation and cross platform support see b2 cli installation
- For reference to b2-cli commands, see b2 cli reference
On Mac/Linux/Windows
pip install --upgrade b2
⚠️ You need Python and
pipinstalled. Download them at https://python.org.
7. Set Your Credentials
You need your Application Key ID and Application Key from your Backblaze account.
On Mac/Linux/Windows
b2 account authorize KEY_ID APPLICATION_KEY
This logs you in for the current terminal session. If you close the terminal, you'll need to re-run this.
Credentials are stored in a .b2_account_info file, usually in your home directory.
8. Upload your files
Make sure you have located the folder where faircamp dumps your archive contents. The following commands show example folder locations to illustrate the syntax of the command, but your folder location will vary.
- Your
[FAIRCAMP-BUCKET-NAME]is the name you gave your bucket in the previous steps
On Mac/Linux
b2 sync --delete ~/Documents/faircamp/.faircamp_build b2://[FAIRCAMP-BUCKET-NAME]
On Windows
b2 sync --delete C:\Users\YourName\Documents\.faircamp_build b2://[FAIRCAMP-BUCKET-NAME]
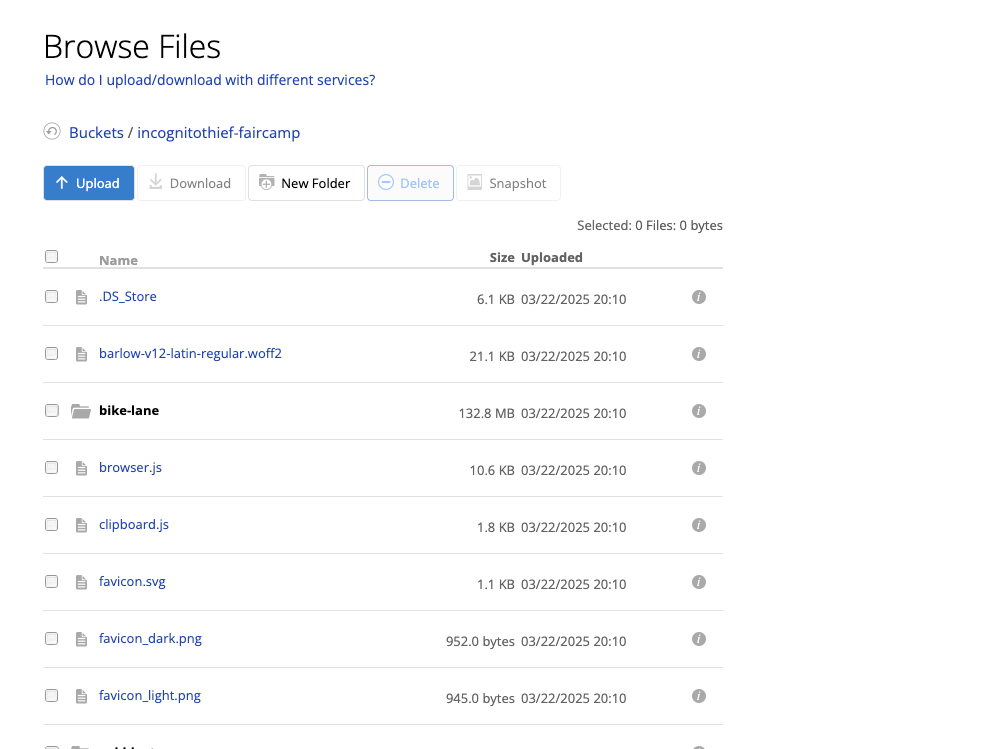
If you have done this portion successfully, your bucket should look somewhat like the following
9. Test your archive
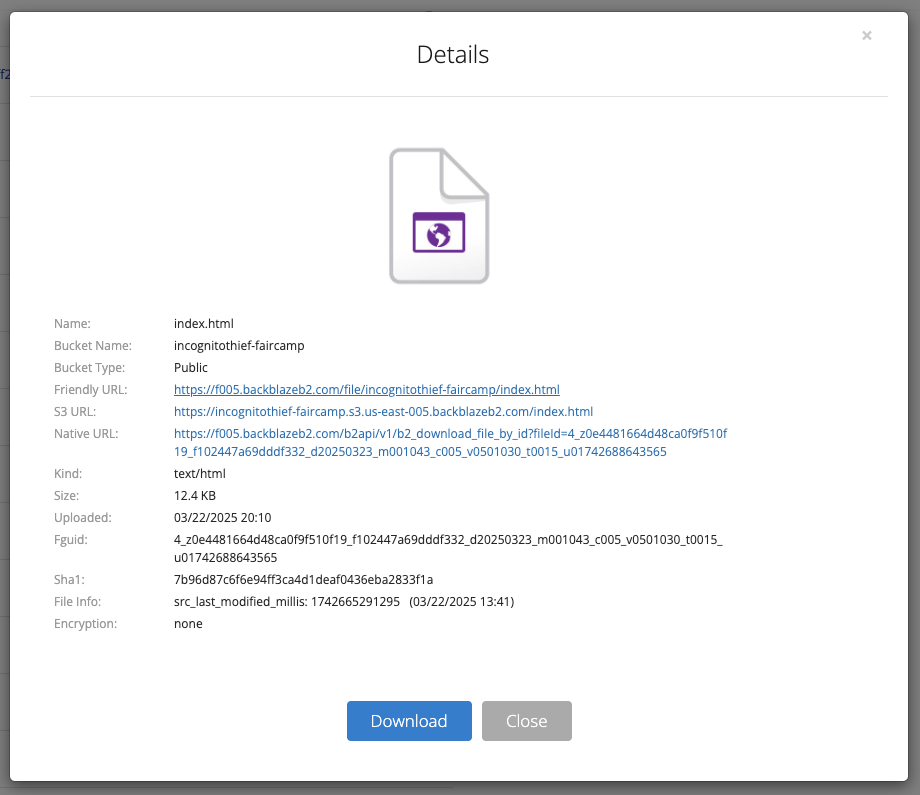
To make sure that the files were uploaded correctly, find the index.html file at the top level of your bucket.

Click on this file. Open the "Friendly URL"
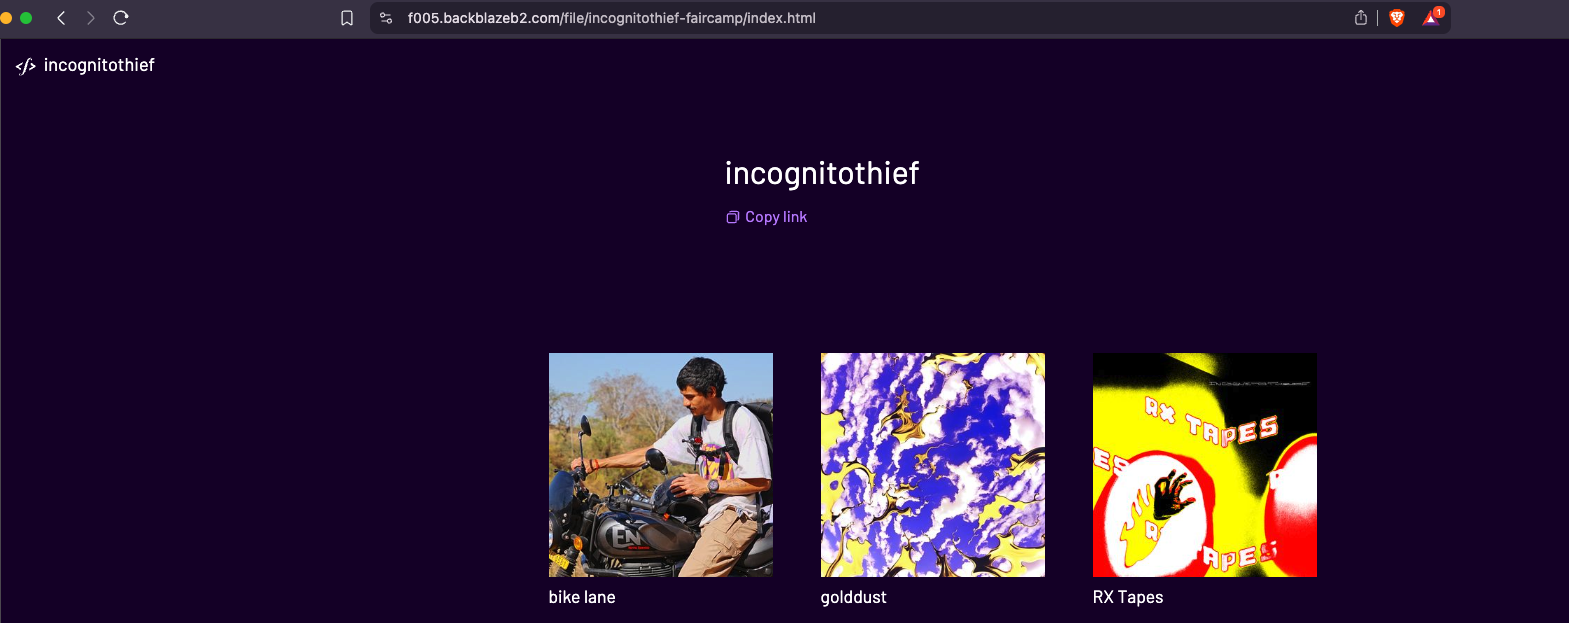
You should see your archive load in. However, when you try to click on something, there will be some error
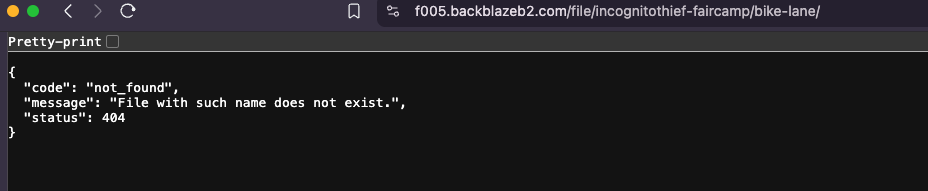
This is because backblaze does not know you are hosting a website. To fix this, we need a route translator
Create a route translator
Backblaze allows you to host files publicly. However, in order for your files to behave like a website, we need to write a small script that will translate requests from a web browser to the appropriate files in your bucket
10. Create a Cloudflare account
Create an account on cloudflare
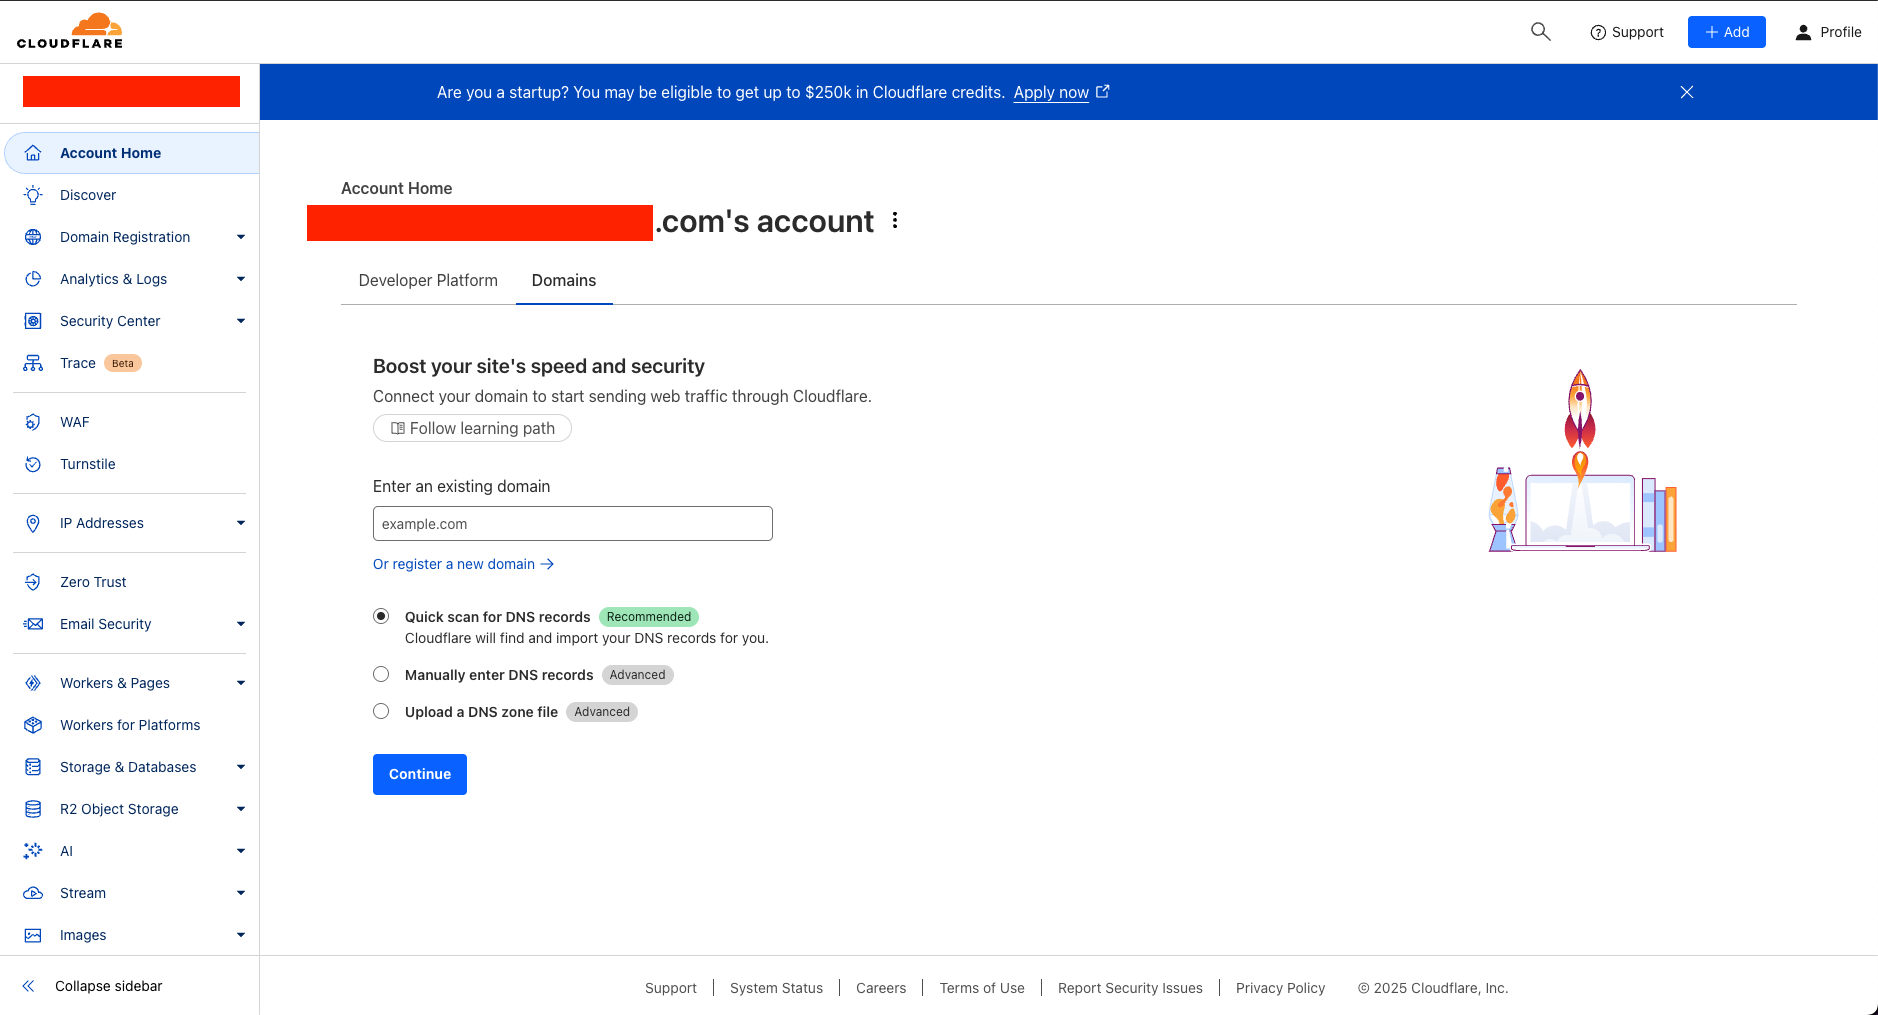
Welcome to cloudflare!
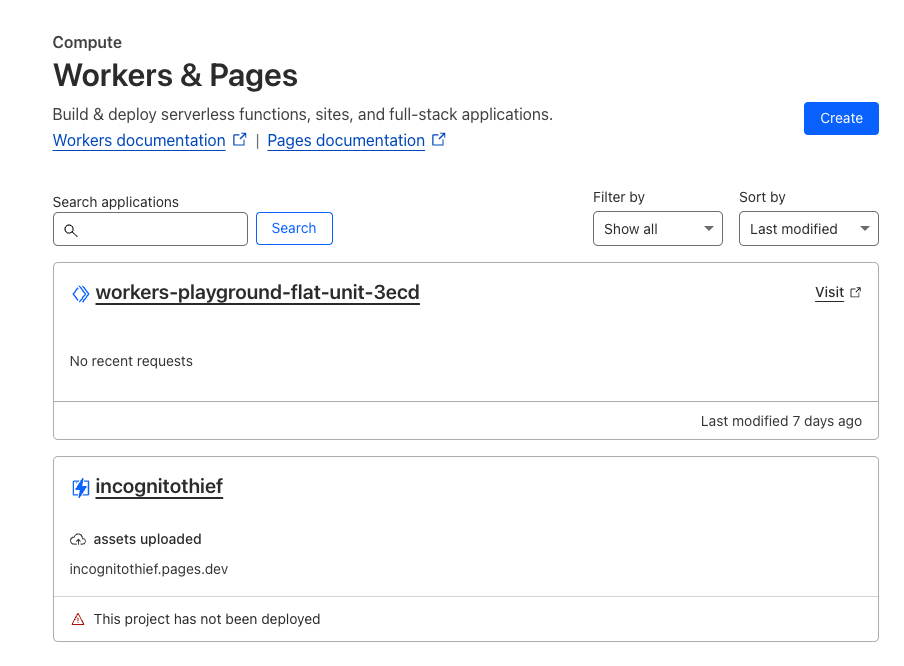
11. Create a worker
Click on workers and pages

Click Create
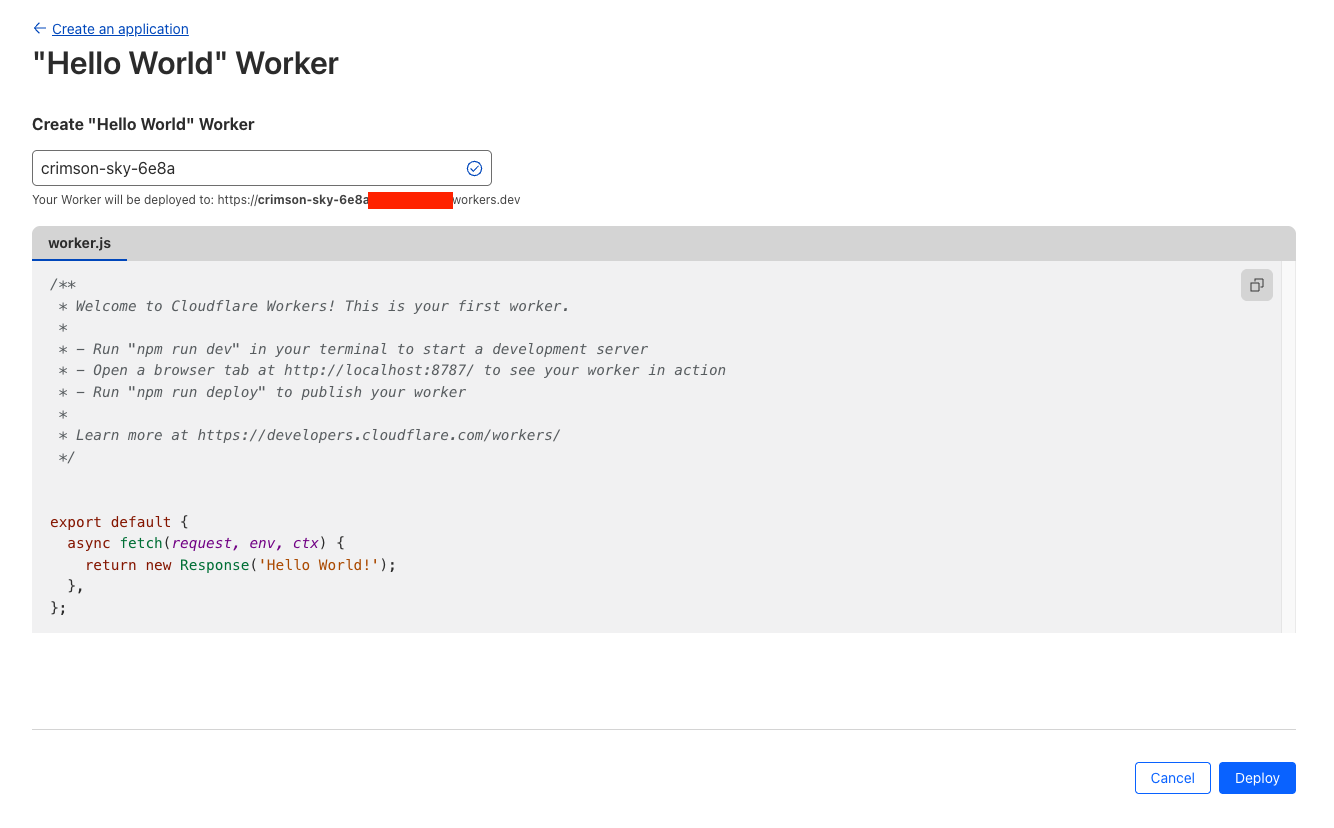
Click on Hello World. This will give us a blank template
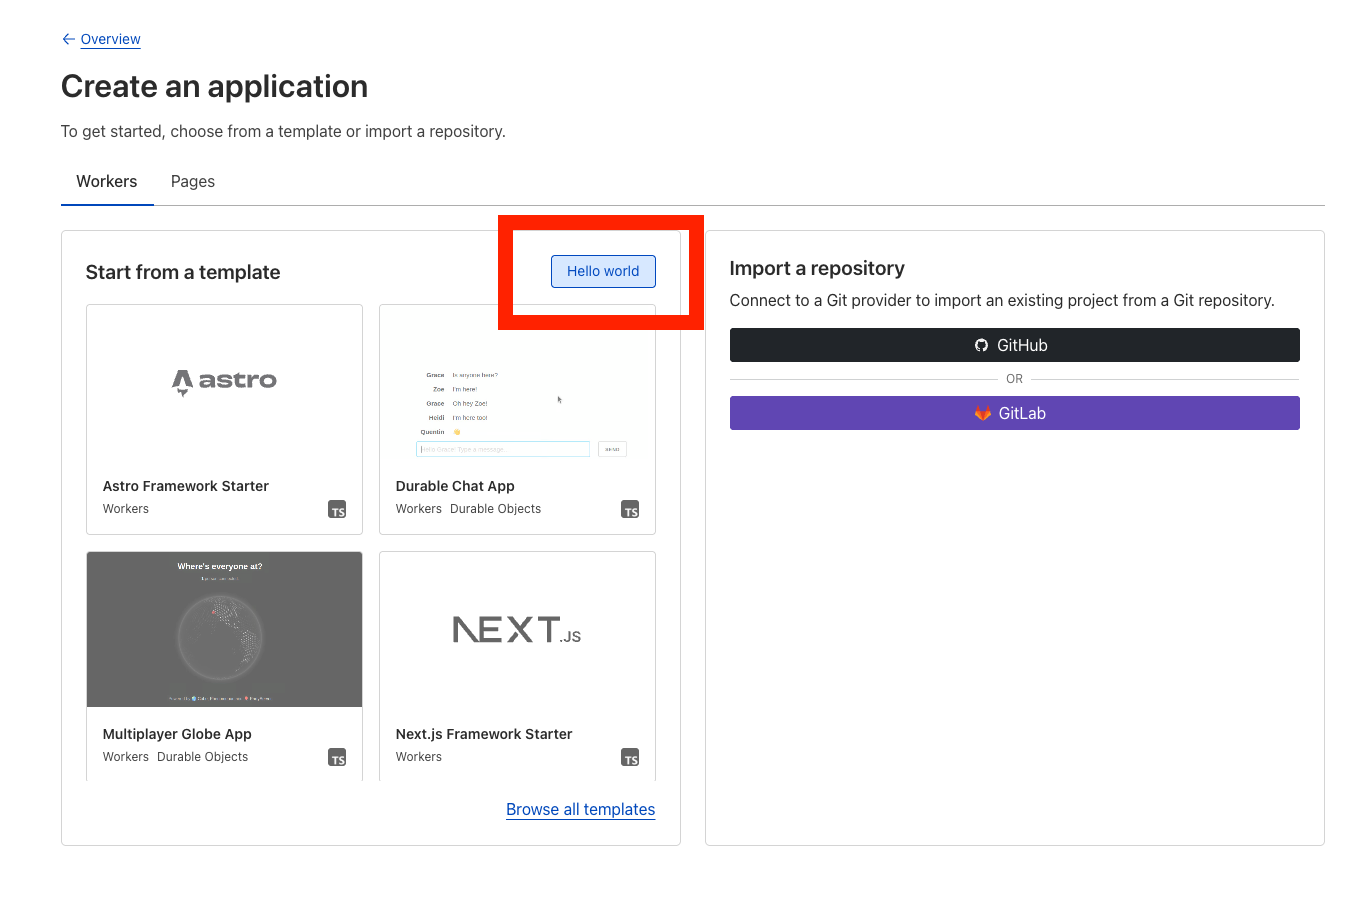
From here, we can click Deploy
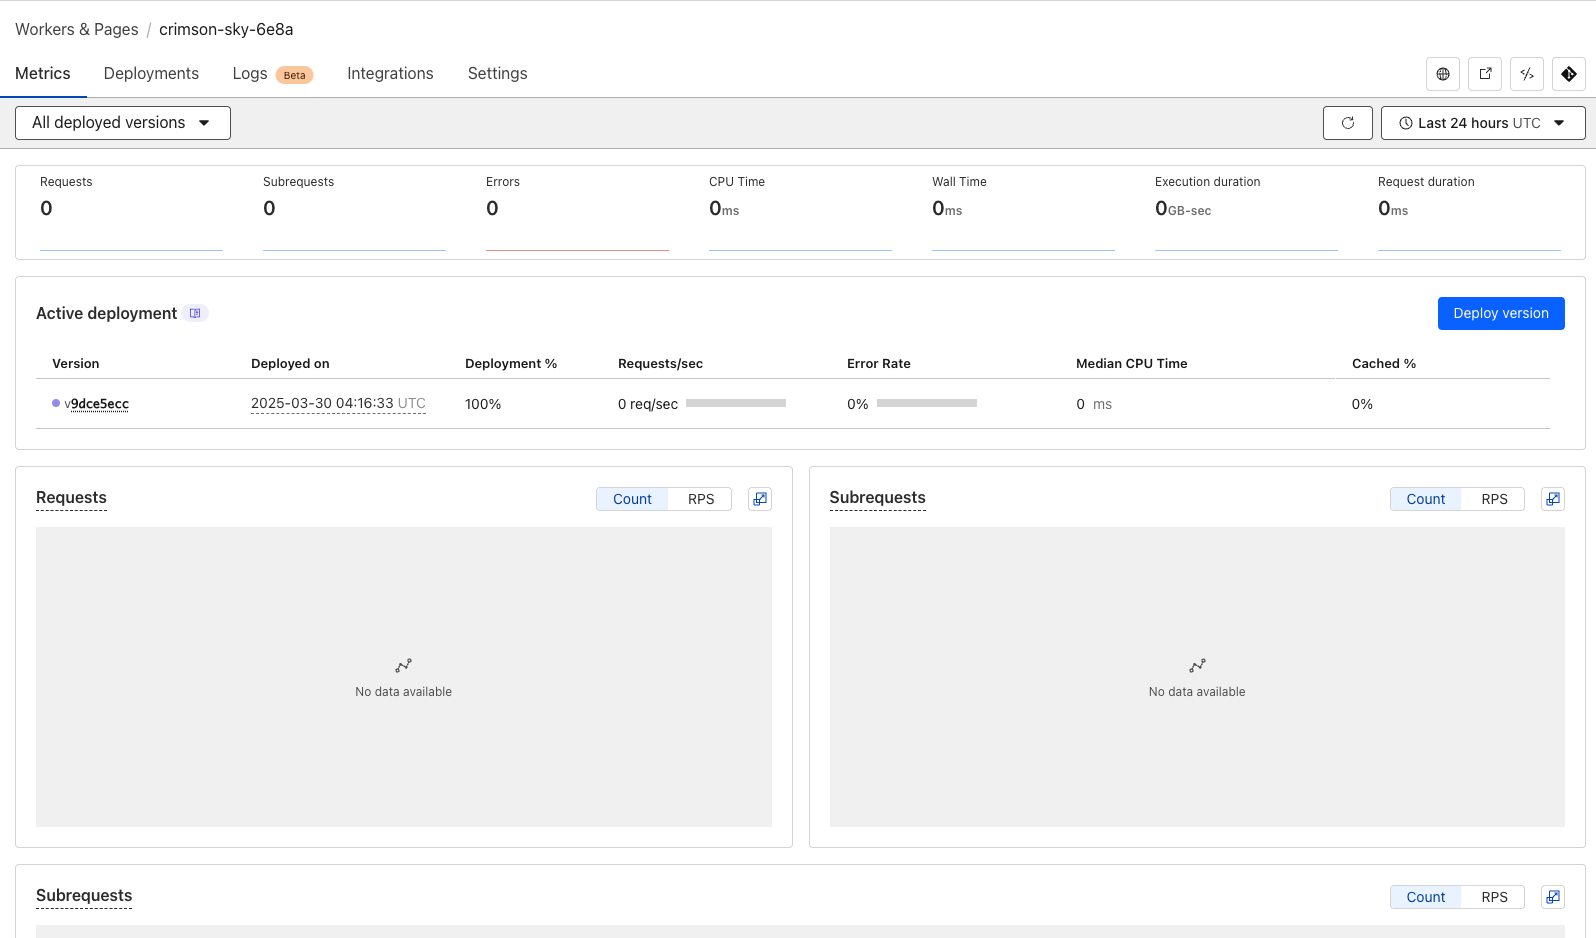
Then Continue to project

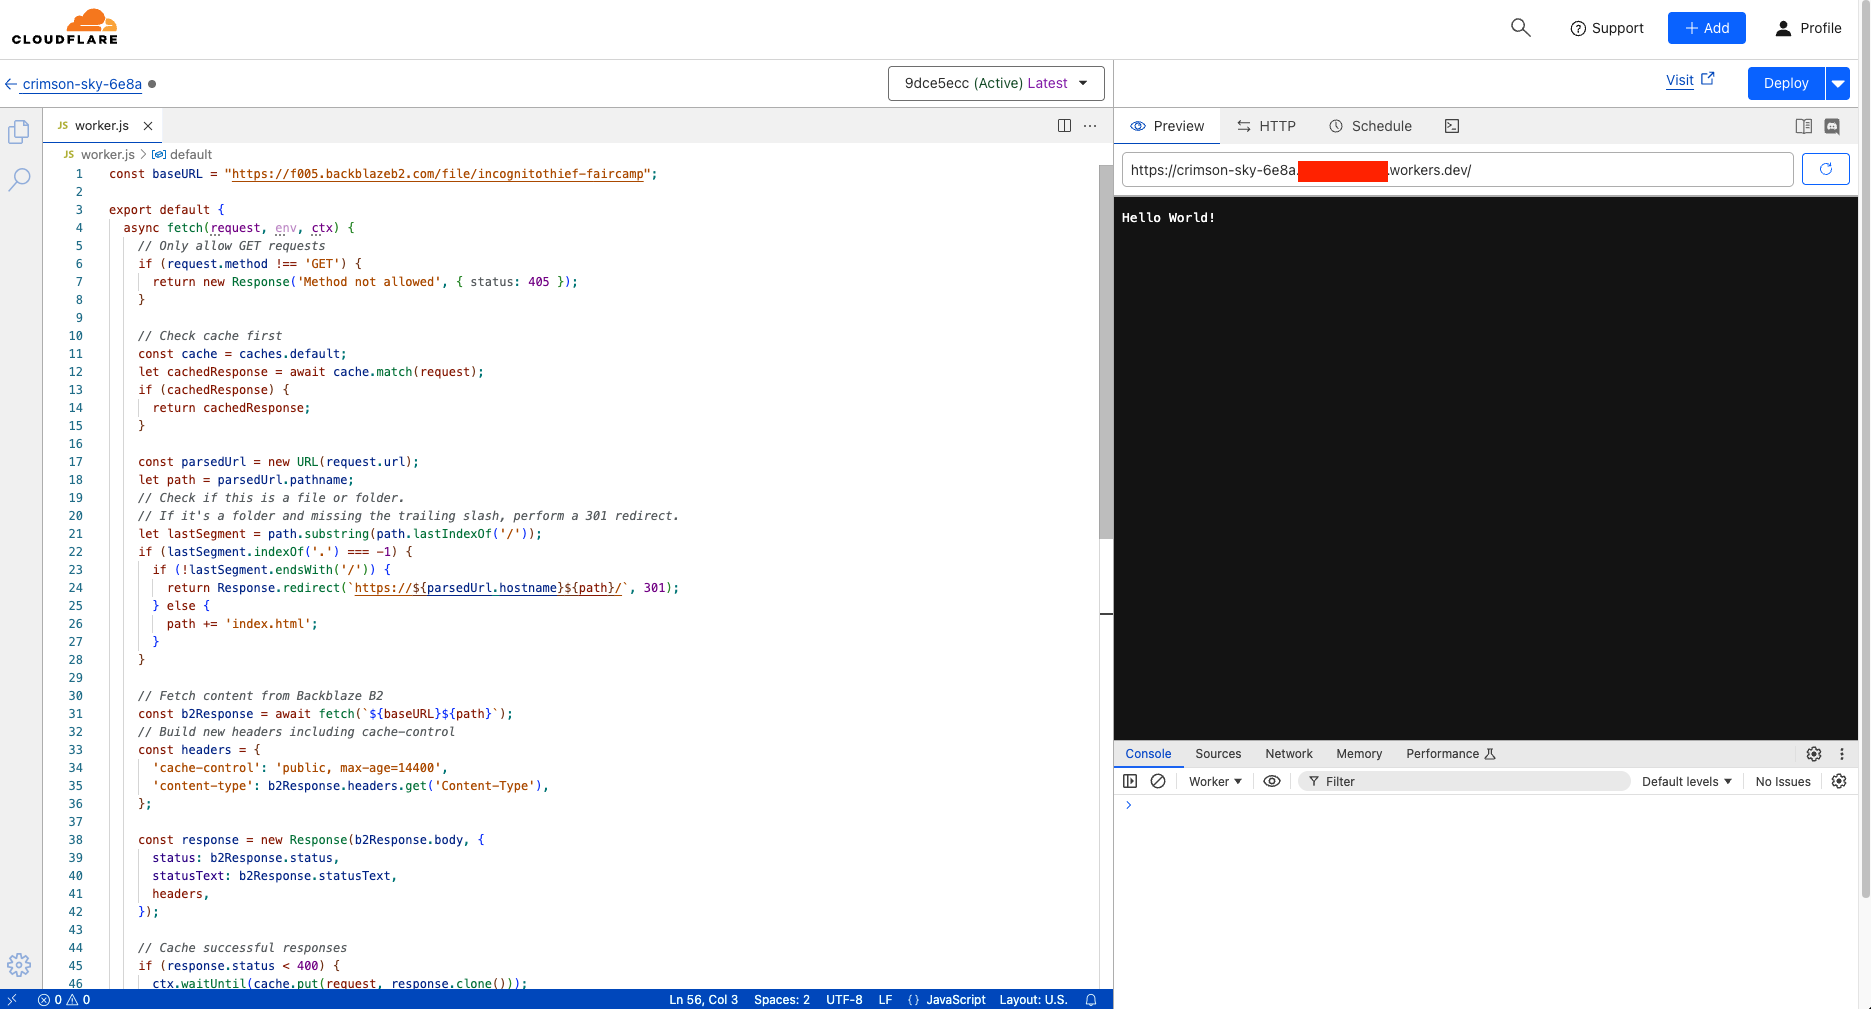
12. Modify the worker to translate our routes
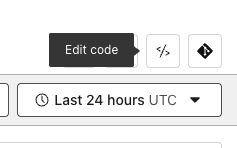
In the top right corner, click the icon that looks angled brackets to edit the code
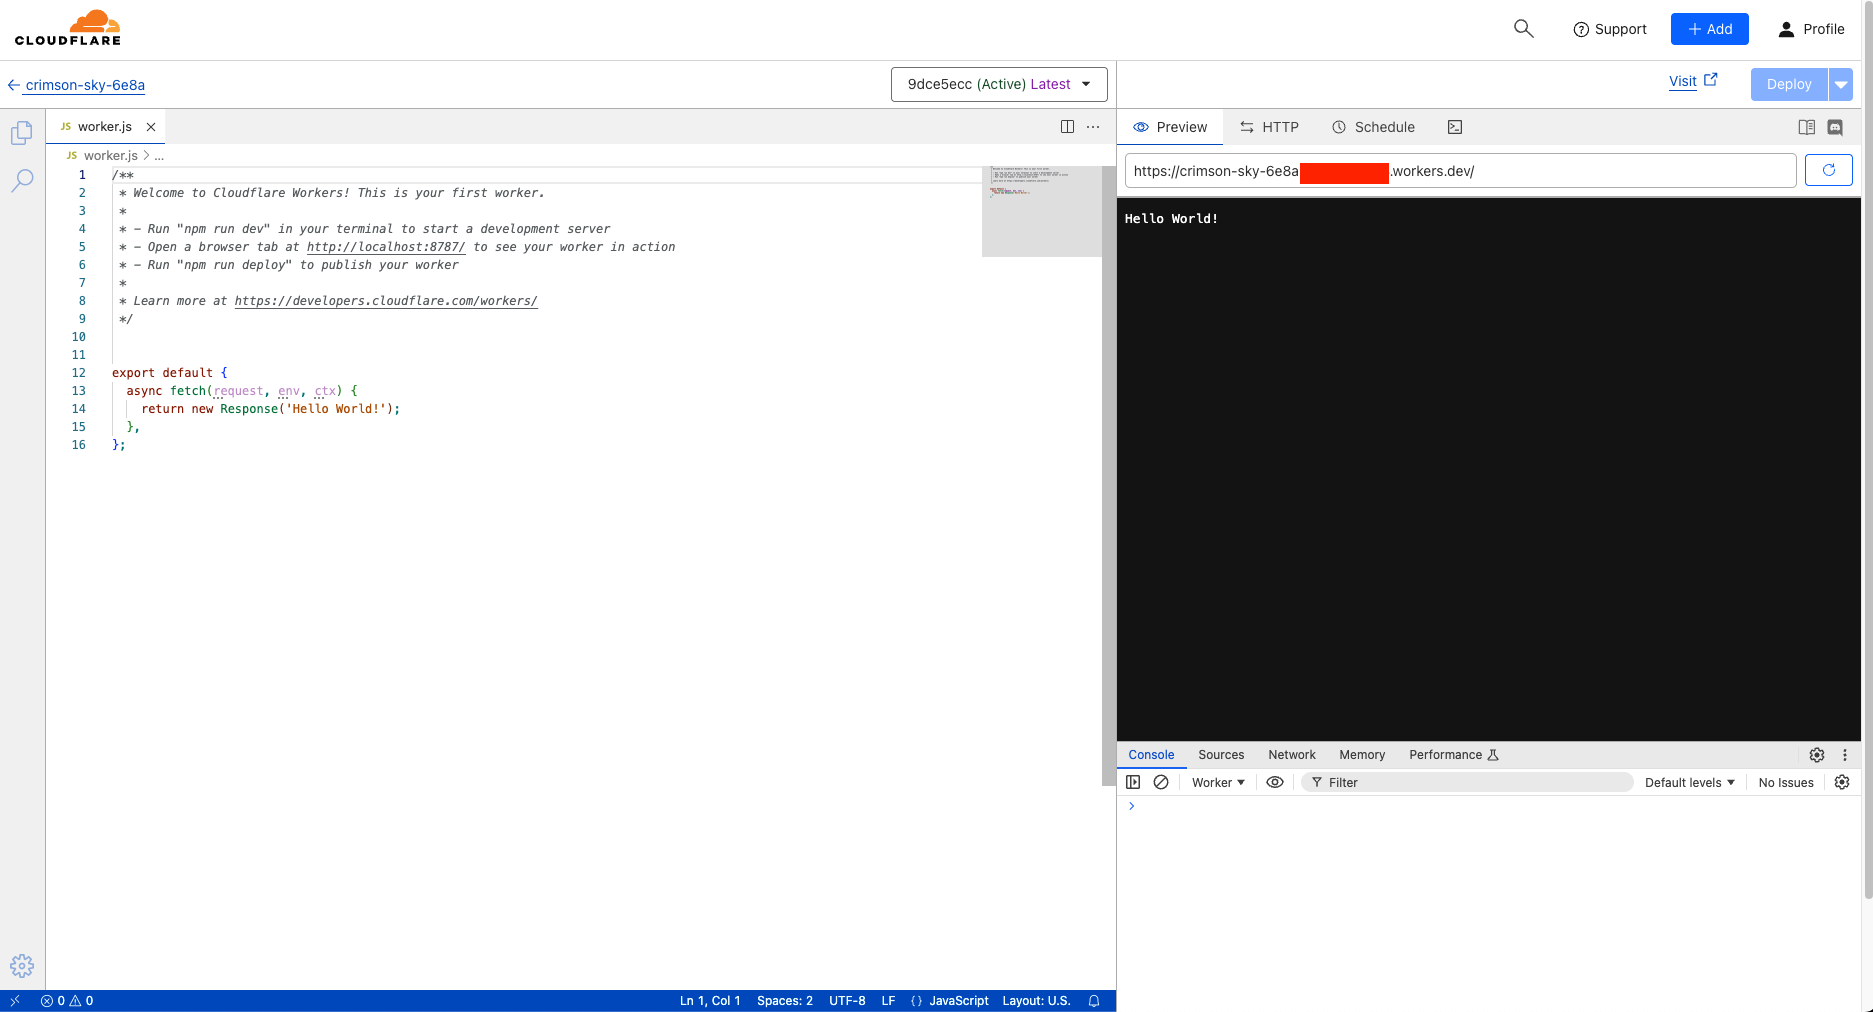
Here we will see the code editor
Configure the base URL
Remember the friendly URL that you used to test your archive earlier? We will use that link here.
It should be formatted like this ( Replace [YOUR-BUCKET-NAME] with your bucket name )
const baseURL = "https://f005.backblazeb2.com/file/[YOUR-BUCKET-NAME]";
Paste the script into the code editor
Be sure to replace baseURL with your base URL, and paste this script into the cloudfront code editor
const baseURL = "https://f005.backblazeb2.com/file/[YOUR-BUCKET-NAME]";

export default {
  async fetch(request, env, ctx) {
    // Only allow GET requests
    if (request.method !== 'GET') {
      return new Response('Method not allowed', { status: 405 });
    }

    // Check cache first
    const cache = caches.default;
    let cachedResponse = await cache.match(request);
    if (cachedResponse) {
      return cachedResponse;
    }

    const parsedUrl = new URL(request.url);
    let path = parsedUrl.pathname;
    // Check if this is a file or folder.
    // If it's a folder and missing the trailing slash, perform a 301 redirect.
    let lastSegment = path.substring(path.lastIndexOf('/'));
    if (lastSegment.indexOf('.') === -1) {
      if (!lastSegment.endsWith('/')) {
        return Response.redirect(`https://${parsedUrl.hostname}${path}/`, 301);
      } else {
        path += 'index.html';
      }
    }

    // Fetch content from Backblaze B2
    const b2Response = await fetch(`${baseURL}${path}`);
    // Build new headers including cache-control
    const headers = {
      'cache-control': 'public, max-age=14400',
      'content-type': b2Response.headers.get('Content-Type'),
    };

    const response = new Response(b2Response.body, {
      status: b2Response.status,
      statusText: b2Response.statusText,
      headers,
    });

    // Cache successful responses
    if (response.status < 400) {
      ctx.waitUntil(cache.put(request, response.clone()));
      return response;
    } else if (response.status === 404) {
      // Optionally, return a custom 404 page
      return fetch(`${baseURL}/404.html`);
    }

    // Return a minimal error page for other errors
    return new Response(response.statusText, { status: response.status });
  },
};
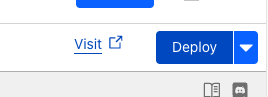
Deploy the worker
Click the deploy button
Your faircamp archive will now be accessible via this link
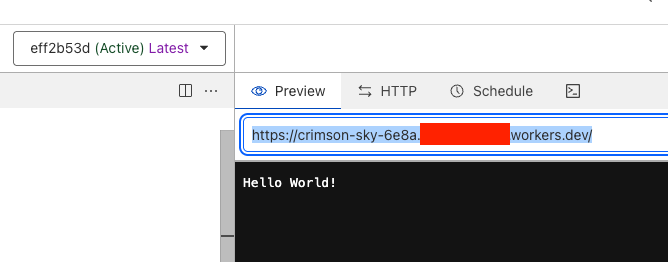
If you click the refresh icon, your archive should show up in the window
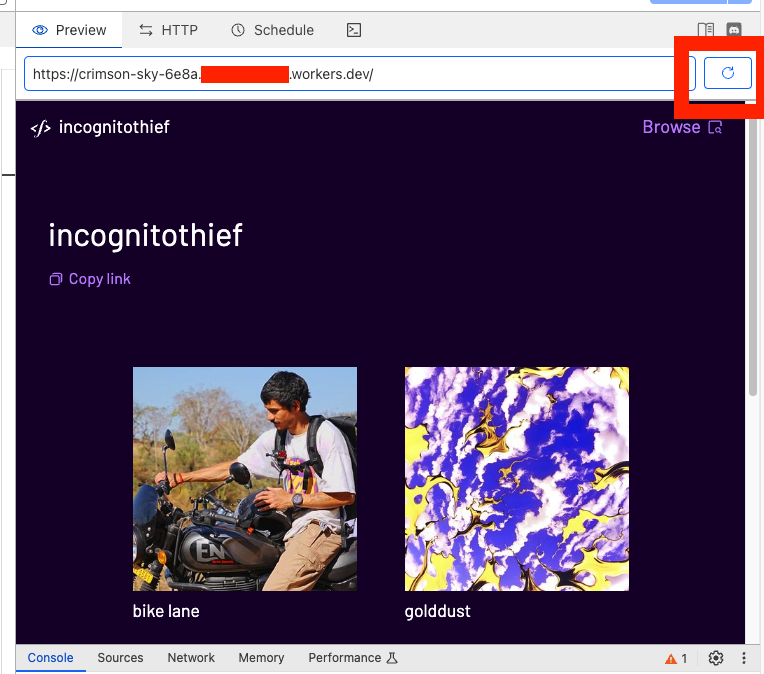
Finished
Your archive is now available at the link listed above the preview window! Keep this link handy; You will submit it on the publish page
Tips and Tricks
Refreshing your archive after making changes
If you want to refresh the contents of your archive:
- empty your storage bucket
This can be done manually via the backblaze dashboard, or by running the command
b2 rm --versions --recursive b2://<bucketName>
- re-upload a fresh faircamp build ( repeat step 8 )